Last updated: October 22, 2026
Quick answer: 7 easy paper craft ideas for kids at home are included below, and each one uses common supplies, a short setup, and a finishable step list. Easy paper craft ideas for kids at home work best with paper, scissors, a glue stick, and markers already on hand.
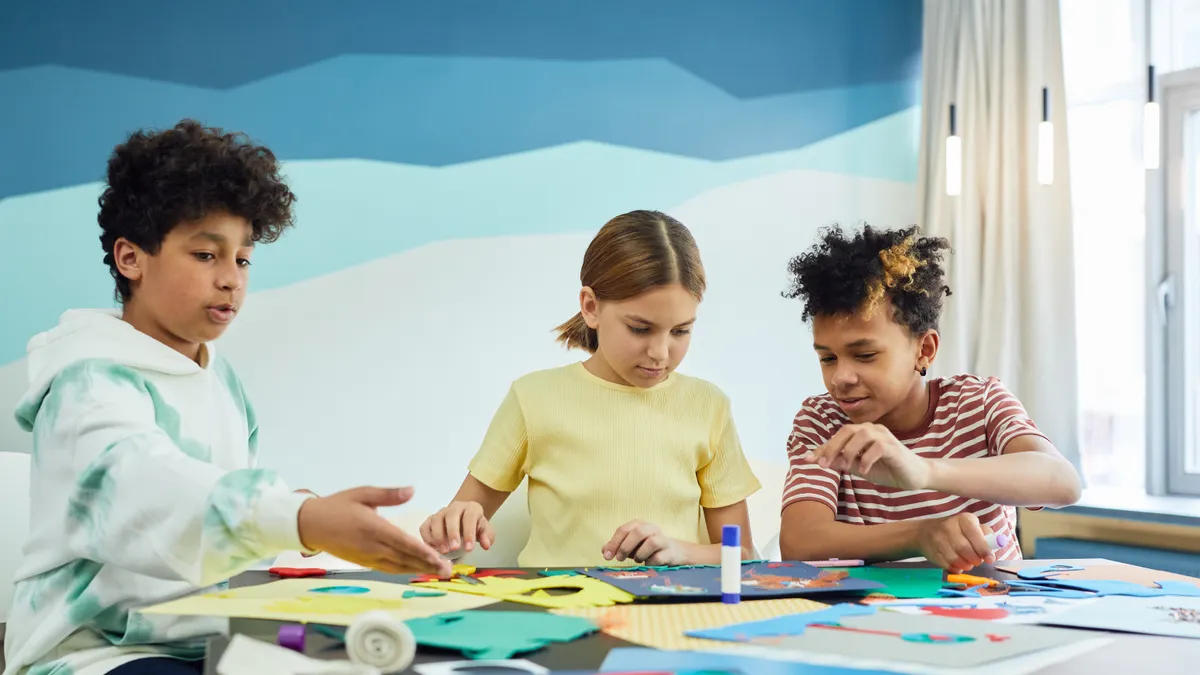
Easy paper craft ideas for kids at home start with one simple rule: use paper crafts for kids that need little setup, little cleanup, and materials already in the drawer. A sheet of construction paper, a stack of printer paper, scissors, a glue stick, and markers are enough for most of the projects below. For paper safety guidance, the U.S. Consumer Product Safety Commission recommends age-appropriate materials and supervision for young children. https://www.cpsc.gov/Safety-Education/Safety-Education-Centers/Child-Product-Safety
What makes a paper craft easy enough for home?
An easy paper craft is one a child can finish in 10 to 20 minutes with one main fold, one main cut, or one simple glue step. That matters because the craft should feel doable on a kitchen table, not like a school project that needs a ruler, specialty paper, or a drying rack.
A practical home paper craft usually has three traits. It uses common supplies such as construction paper, printer paper, crayons or markers, scissors, and a glue stick. It forgives uneven cutting and crooked folds. It still looks finished even if the child is young or distracted halfway through.
That makes some crafts a poor fit. Tiny paper weaving, layered collage scenes, and intricate cutouts are frustrating for children who are still learning to control scissors. They also create more scraps, more glue smears, and more adult fixing. For this page, the goal is not perfection. The goal is a finished object a child can hold up with pride.
Age matters too. Four- and five-year-olds usually do better with tearing, folding, and sticking large shapes. Children around 6 to 8 can handle simple cutting lines and basic templates. Older kids can add details like faces, patterns, and labels without changing the core project. That range is why the ideas below stay low-prep and low-mess rather than highly decorative.
If a craft needs a hot glue gun, glitter, paint, or a long drying time, it no longer belongs in the “easy at home” bucket. It may still be a good craft, but it is not the kind a parent can pull out on a weekday afternoon.
Easy paper craft ideas for kids at home

These paper craft ideas for kids at home are a safe place to start because each one uses a short supply list and one clear action. Pick one project, set out the materials before the child sits down, and keep the instructions to three steps or fewer.
1) Paper animals from circles and rectangles
Cut a few circles and rectangles from construction paper, then turn them into animals with a glue stick and markers. A paper bear needs one large circle for the head, one bigger circle for the body, two small circles for ears, and a rectangle for the legs. A paper fish can be a single oval with a triangle tail.
This works well because children do not need exact measurements. If the circles are lopsided, the animal still reads as an animal. Markers add eyes, whiskers, spots, stripes, and claws without extra supplies. For younger children, pre-cut the shapes. For older children, let them cut the shapes themselves and decide what animal to make.
The trade-off is that the craft can look plain if the child stops after gluing the shapes together. Add one detail that changes the whole page: a nose, a tail, or a small background like grass or water.
2) Folded paper fans
Fold a strip of printer paper back and forth like an accordion, then tape or glue one end to hold it together. A strip about 2 to 3 inches wide makes a small fan that opens neatly in little hands. Construction paper works too, but printer paper folds more easily.
This is a strong first folding craft because the result appears fast. A child can decorate the strip before folding with crayons, dots, stripes, or hand-drawn patterns. When opened, the folds make the design look more complex than it is.
The downside is that thin paper can tear if a child folds too hard. Show gentle creases first, then press each fold flat with a palm. If the fan keeps springing open, add a piece of tape at the handle instead of more glue.
3) Handprint trees and flowers
Trace a hand on construction paper, cut it out, and use the fingers as branches, petals, or feathers. A brown handprint becomes a tree trunk and canopy when turned upside down. A green handprint can become a flower top with a paper stem.
This craft is useful because it mixes drawing, cutting, and gluing without complex shapes. It also gives younger children something personal to make. The hand outline creates a shape that feels special even when the child uses only one color.
The common mistake is making the handprint too small to decorate. Use a full sheet of paper if possible, especially for children under 7. That leaves room for markers, blossoms, birds, or grass.
4) Paper chains from scrap strips
Cut 1-inch-wide strips of construction paper, loop one strip, glue or tape the ends, then thread the next strip through the first loop. Repeat until the chain is as long as the child wants. Printer paper works in a pinch, but construction paper makes sturdier links.
Paper chains are ideal for low-energy afternoons because the child repeats one move. The pattern becomes satisfying fast, and the chain can be made in 10 minutes or stretched into a longer project. It also uses leftovers from other crafts.
The main drawback is cleanup from many small strips. Put a tray or baking sheet under the work area so scraps stay contained. If the child loses interest quickly, start with just 6 to 8 links instead of a long chain.
5) Puppets with paper bags or folded paper
Make a face on a folded paper rectangle or the flat side of a lunch-sized paper bag, then add paper ears, hair, and arms. A glue stick and markers are enough. The child can turn the puppet into an animal, a character, or a made-up creature.
This craft gives kids something to play with after the making part ends. That matters because useful home crafts are not only pretty; they also support a second round of pretend play. Simple speech bubbles cut from printer paper can add another layer without making the project harder.
Avoid too many glued layers on the mouth area. Thick glue can make the paper bend awkwardly and can hide the moving part of the puppet. Keep the face flat and leave the center fold or opening clear.
6) Paper crowns and headbands
Cut a long strip of construction paper to fit around the child’s head, then staple or tape the ends after decorating it with stars, spots, lines, or paper jewels. A strip about 2 inches tall is enough for most headbands.
This is a strong choice when a child wants something wearable. The result feels special with almost no materials. It also gives room for personal choices, which keeps older kids engaged. Add one paper shape at a time rather than piling on decoration.
The drawback is fit. If the strip is too tight, the crown becomes uncomfortable. If it is too loose, it slips. Wrap the strip around the child’s head before decorating, then overlap the ends and mark the size first.
7) Simple paper masks
Draw a mask shape on construction paper, cut out eye holes, and decorate it with markers and paper scraps. A tongue depressor, paper straw, or folded strip of paper can act as a handle if you want a handheld mask instead of a head-worn one.
Masks are useful for older preschoolers and early elementary kids because the project gives them a clear identity to build around. A fox mask needs orange paper, pointy ears, and a black nose. A superhero mask may need only a bold color and sharp eye shapes.
The biggest mistake is cutting the eye holes too close together or too small. Start with larger holes and adjust only if needed. A child can always add decoration around the eyes, but a cramped mask cannot be fixed easily.
Which supplies should I set out first?
Set out five basics first: construction paper, printer paper, scissors, a glue stick, and markers. Those items cover most low-prep paper crafts without sending you to buy specialty supplies. Tape is useful too, but it is optional.
Keep the setup simple. A flat table, a trash bowl, and one pencil for tracing are enough for most projects. If you want to make the session easier, pre-cut a few shapes or strips before the child starts. That saves time and cuts down on frustration, especially for younger children or children still learning scissor control.
Use paper that matches the job. Construction paper is better for sturdy shapes, crowns, chains, and puppets. Printer paper is better for folding, tracing, and drawing templates. Mixing the two can help: printer paper for practice, construction paper for the final version.
Choose scissors by hand size. Child-safe scissors with blunt tips are easier for small hands and are the safer choice for preschool and early elementary children. Adult scissors are fine for the grown-up who is doing the pre-cutting. For official child-safety advice on tools and supervision, see the CPSC guidance above and the American Academy of Pediatrics’ HealthyChildren resources: https://www.healthychildren.org
One honest limitation: paper alone cannot do everything. If a child wants a project that stands upright, glows, or has texture, paper will feel too flat. That is not a failure of the craft. It just means this category is best for simple, table-friendly activities rather than sculptural ones.
If the aim is minimum mess, skip glitter, liquid glue, paint, and foam stickers. A glue stick usually keeps the page cleaner and dries faster than school glue. Markers are better than watery paints for most home paper projects because they do not need drying time.
How do I make paper crafts less messy?
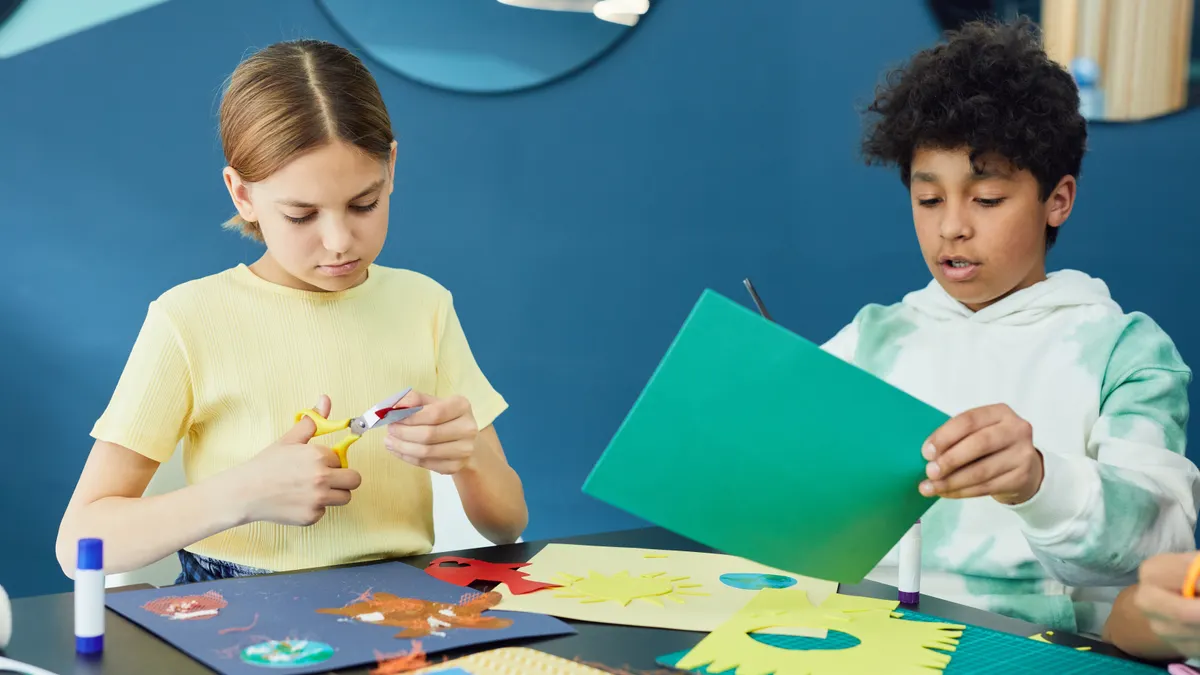
Paper crafts stay cleaner when the setup is controlled before the first cut. Put out only the materials needed for one project, keep a small scrap container on the table, and use a glue stick instead of liquid glue when possible. That alone cuts most of the mess.
Start with a placemat, tray, or newspaper square under the work area. It gives scraps a boundary and makes cleanup easier in under 2 minutes. For children who scatter pieces, cut paper into larger shapes first so there are fewer tiny leftovers.
Keep the glue rules simple. One swipe is usually enough for paper-to-paper bonding. More glue does not make the craft stronger; it just causes wrinkling and slippery fingers. If a child tends to overdo it, hand them the glue stick and keep liquid glue out of reach.
Markers are the cleanest decoration tool for most projects. Crayons are fine too. Avoid wet paint unless the project truly needs it, because wet paint changes the whole cleanup problem. If you do use anything wet, plan for drying time and a separate surface.
The most common mess mistake is giving a child too many options at once. Ten colors, extra paper scraps, stickers, and googly eyes sound fun, but they make the work area chaotic fast. Two or three colors are usually enough for a finished look.
This is not the right activity if the child wants a highly detailed scene with glue, paint, and lots of layering in one sitting. For that kind of project, a different craft format makes more sense. Paper crafts work best when the child can finish without needing help every minute.
What should I do when a paper craft starts to go wrong?
When a paper craft goes wrong, simplify it instead of restarting. A crooked fold, a torn edge, or a badly cut circle usually does not ruin the project. It just means the design needs a smaller goal.
If a fold keeps opening, press it flat again and secure it with a small piece of tape at the back. If the problem keeps happening, stop and check whether the paper is too thick for the fold or whether the child needs help holding the crease. If needed, consult a teacher, parent, or other trusted adult about a safer way to finish the step. If a cut shape is uneven, turn it into something else: a bird wing, a cloud, a monster ear, or a leaf. Paper is forgiving because many shapes can be repurposed.
If the child gets frustrated, stop adding rules. Say what still works, then give one next step. “This circle is fine for a face” is more useful than “Try again.” A 5-minute reset can save the whole craft session.
A practical way to keep momentum is to cap each project at one main outcome. For example, a paper animal only needs a body and face; details can wait. A crown only needs a band and a few decorations. That rule keeps the project from ballooning into something that feels like homework.
The biggest mistake is expecting the finished craft to match a model exactly. Kids’ paper crafts are supposed to look homemade. If the goal is neat symmetry, a child often loses interest before the piece is done. If the goal is a recognizable shape with room for personal choices, the project works.
For children under 6, the adult may need to do most of the cutting. That is not a shortcut around the craft; it is part of making it age-appropriate. The child still gets to choose colors, place features, and assemble the final piece.
A simple 15-minute paper craft routine that works
A 15-minute routine works best when the craft is pre-decided, the materials are limited, and the child knows the finish line. Choose one project, put out one sheet or one strip at a time, and end with one clear decoration step.
- Pick the project and set out only the needed supplies: for example, construction paper, scissors, glue stick, and markers.
- Pre-cut the hard parts if the child is under 7, such as circles for an animal or strips for a chain.
- Let the child assemble the base shape first, which gives the craft a fast early win.
- Add one decorating pass with markers or paper scraps, not five separate layers.
- Finish with a single check: eyes, ears, handles, or a headband fit.
That routine is useful because it keeps the task small enough to finish in one sitting. It also works across ages. A 4-year-old can glue and color. An 8-year-old can cut and decorate. A child who wants more can always make a second version with a new color scheme.
The drawback is that quick crafts are not always the most detailed. That is the point. Home paper crafts should feel easy to start and easy to stop.
Paper craft comparisons and quick buying notes
| Project | Best paper | Time | Typical cost | Best for |
|---|---|---|---|---|
| Paper animals | Construction paper | 10-15 min | Low | Shapes and pretend play |
| Folded paper fans | Printer paper | 5-10 min | Very low | Folding practice |
| Handprint trees and flowers | Construction paper | 10-15 min | Low | Younger kids |
| Paper chains | Construction paper | 10-15 min | Very low | Repetition and decoration |
| Puppets | Paper bag or construction paper | 10-20 min | Low | Play after making |
| Crowns and headbands | Construction paper | 10-15 min | Low | Wearable crafts |
| Simple paper masks | Construction paper | 10-15 min | Low | Costume play |
Construction paper is usually the better choice for the sturdier projects in this list, while printer paper is better when folding matters more than strength. That is why the supply list stays short: most easy paper craft ideas for kids at home do not need specialty materials.
Key Takeaways
- The easiest paper crafts for kids use paper, scissors, glue stick, and markers.
- Simple shapes, folds, and strips beat detailed templates for home use.
- Younger children do best with pre-cut pieces and larger shapes.
- Construction paper is sturdier; printer paper is better for folding and tracing.
- Less glue, fewer supplies, and one clear goal keep cleanup manageable.
What paper crafts are easiest for kids?
The easiest paper crafts for kids are ones built around one repeated action, such as folding, cutting circles, or gluing strips into a chain. Easy paper craft ideas for kids at home work best when the child can finish the project without needing constant help.
Drafted with AI; not yet reviewed by a person.
Leave a Reply