Last updated: October 23, 2026
Key Takeaways
- Gather the basic supplies first: cord, a dowel, scissors, and a measuring tape.
- The project uses a few knots, but the sequence matters.
- A short run of lark’s head knots, square knots, and a shaping row creates a finished look.
- Match cord thickness to the wall hanging size and the dowel to the finished weight.
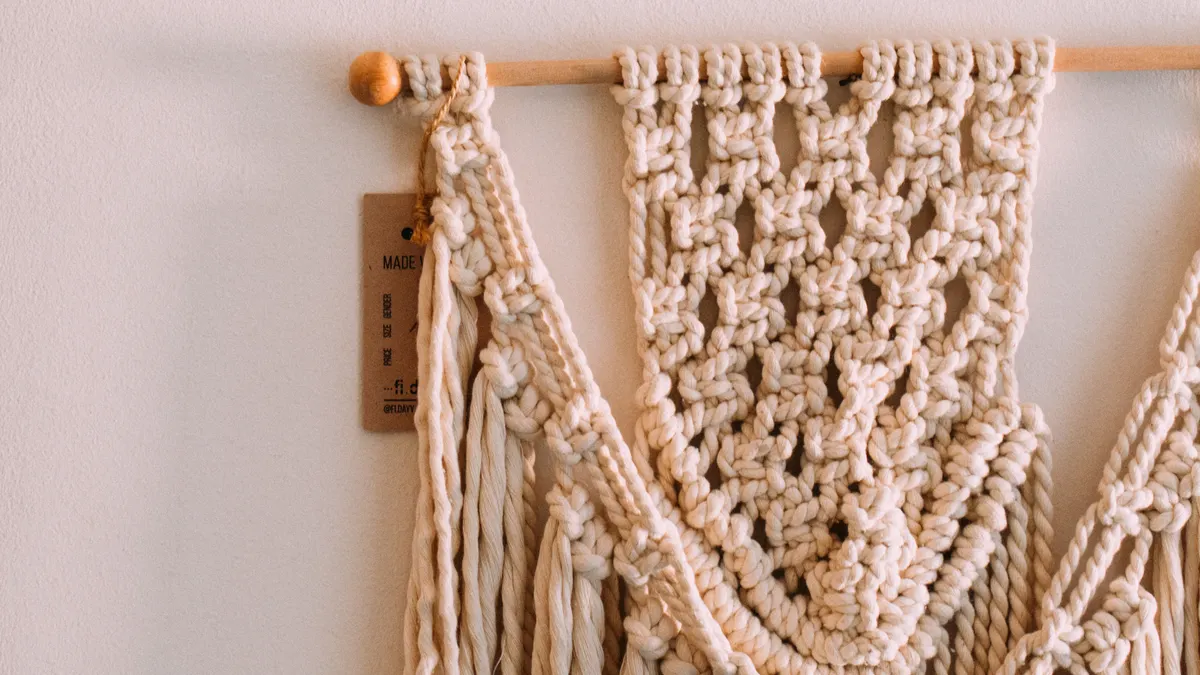
A boho macrame wall hanging starts with a simple knot sequence, a straight wood dowel, and clean fringe finishing. This guide explains how to make a boho macrame wall hanging with a few basic materials. If the knots are even and the ends are trimmed on purpose, the piece looks decorative; if not, it looks like practice cord on a stick.
What you need before you start
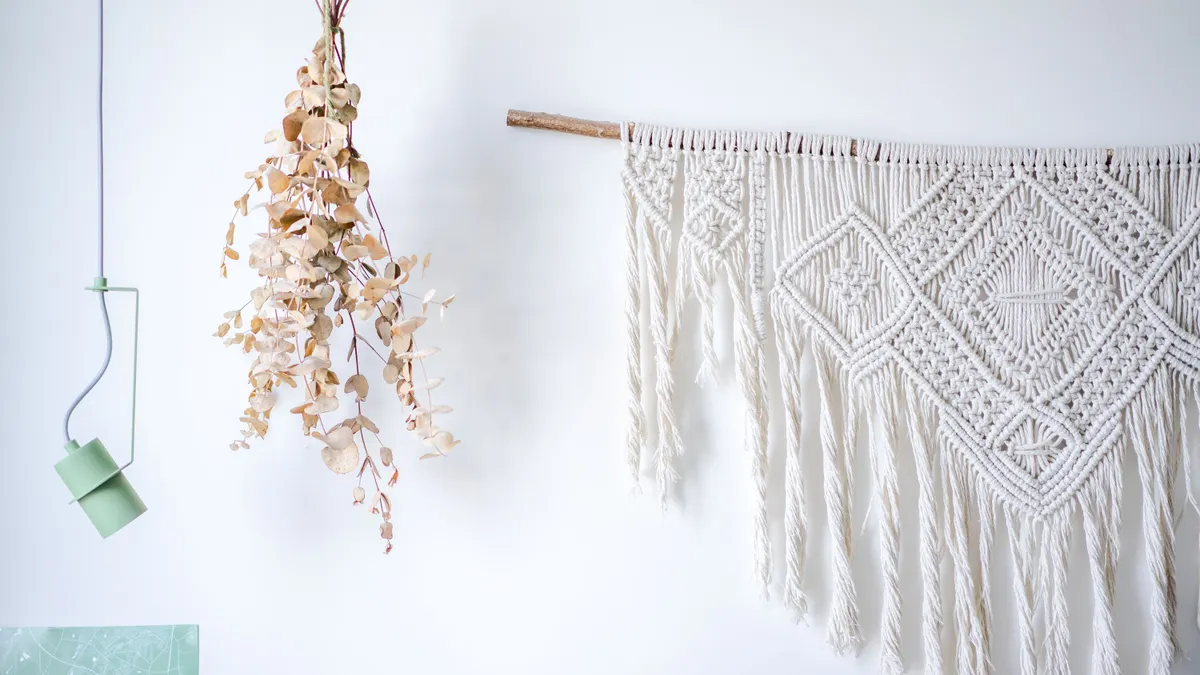
You need macrame cord, a wood dowel, scissors, and a measuring tape before you tie the first knot. For a beginner wall hanging, a medium-size cotton cord, a dowel about the width of your finished piece, and a clear workspace where you can lay out 6 to 12 cords without tangling them are practical starting points.
The cord matters more than most people think. Soft cotton macrame cord is usually the easiest place to begin, though the best choice depends on the look you want. It is easier to comb into fringe and easier to tighten evenly than slick synthetic cord. For a first project, choose cord that holds shape without feeling stiff in your hands. If the cord is too thin, the pattern looks fussy and takes longer to finish. If it is too thick, the knots can turn bulky fast and hide the design.
The dowel sets the look. A plain wooden dowel keeps the piece calm and natural, which suits boho styling better than a painted rod with visible hardware. Make sure the dowel is sturdy enough to hold the weight of the cords without bending. For a small wall hanging, a shorter dowel works well because the knots stay centered and the fringe does not sag too far below the base.
A measuring tape is not optional. It keeps your left and right cord lengths even, which matters more than decoration at this stage. Uneven starting lengths create a lopsided bottom edge that is hard to fix later. Scissors should be sharp enough to cut cleanly through all strands in one motion, not crush them.
If the goal is a neat decorative wall piece rather than a craft sample, this is also the right point to decide on scale. A beginner-friendly hanging usually looks best when the widest knot section is smaller than the dowel, leaving a visible frame of empty space on both sides. That open space is part of the boho look.
How to make a boho macrame wall hanging
You make a boho macrame wall hanging by attaching folded cords to a dowel, tying a short sequence of basic knots, shaping the center, and finishing the fringe so the bottom edge looks intentional. The whole piece can be built from a few knots, but the order matters.
- Cut your cords to length. Measure and cut several cords to the same length, usually longer than the finished drop so you have room for knots and fringe. The cut ends should be even, and every strand should hang from the dowel at roughly the same starting point.
- Attach each cord to the dowel. Fold a cord in half and secure it to the wood dowel with a lark’s head knot. If you are new to macrame, check a basic knot guide or consult a craft instructor before you start, and use a reliable source such as the Britannica overview of macramé or The Spruce Crafts’ knot tutorials. When it works, the cord grips the dowel cleanly and both ends hang straight down on the same side.
- Repeat until the dowel is filled. Keep adding folded cords side by side until you reach the width you want. The cords should sit close together without overlapping into a thick lump, and the dowel should still be visible between the hanging bundles.
- Make a row of square knots in the center. Use four cords at a time to tie square knots across the middle section. Tighten each knot to the same feel so the row sits level instead of twisting into a spiral. A good row looks like a flat band with distinct knot ridges.
- Shift to a second knot row for shape. Place the next square knots slightly offset below the first row so the design widens or narrows in a soft V. This creates the boho silhouette without needing advanced patterns, and the middle starts to read as a deliberate motif instead of random knots.
- Balance the sides. Mirror the knot placement on the left and right so the hanging feels symmetrical, even if the fringe is uneven later. If one side is heavier, the wall hanging will pull visually to that side as soon as it is hung.
- Check the fall before you finish. Hold the dowel up and look at how the cords hang for a minute. The center pattern should be the main visual mass, with the side cords falling cleanly and no cord crossing another in a way that hides the shape.
The biggest mistake at this stage is tying knots too tightly from the start. That gives a stiff rectangle with no movement, and the fringe has less room to soften the piece. A slightly looser hand can make the wall hanging feel handmade rather than rigid. The other common mistake is skipping the measuring tape and guessing cord length. That usually leaves one side longer than the other and forces awkward trimming later.
If you want a cleaner beginner pattern, stop after two knot rows and finish well. A simple design with crisp spacing beats a crowded one with weak symmetry.
Which knot sequence makes the piece look decorative?
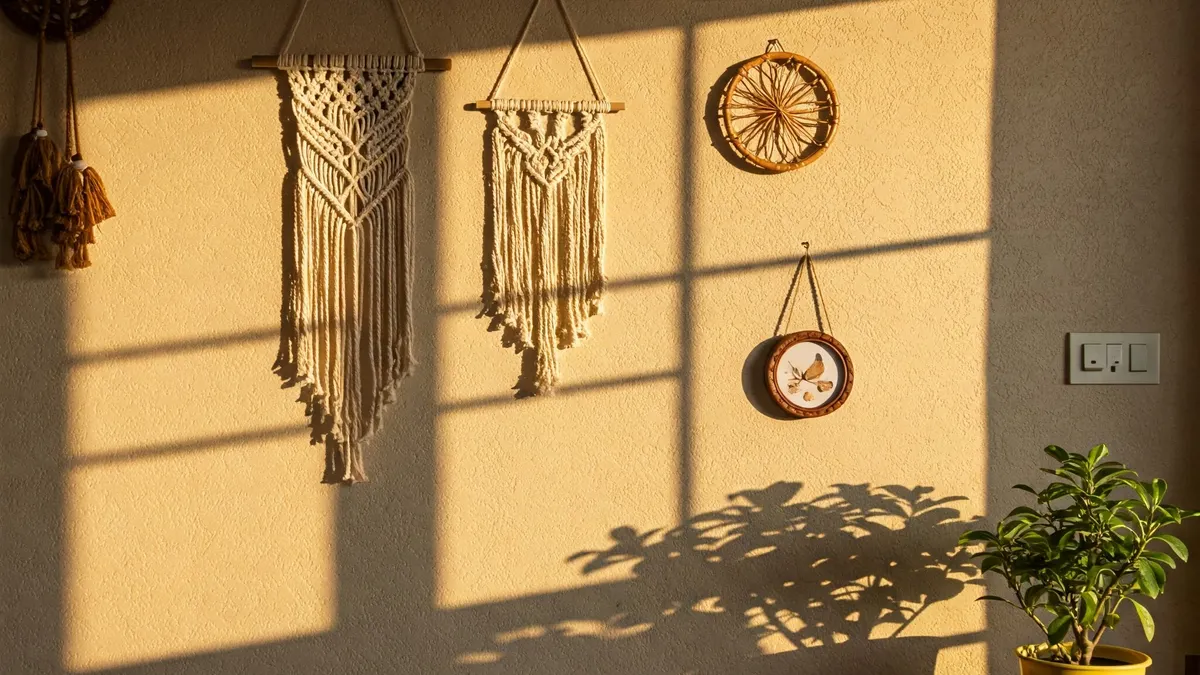
A short sequence of lark’s head knots, square knots, and a final shaping row makes the piece look decorative instead of practice-only. That sequence gives you a firm top, a visible center pattern, and a controlled bottom edge without asking you to learn advanced knotwork.
The lark’s head knot is the anchor. It locks each cord onto the dowel and creates the fringe foundation. Square knots are the main body because they hold shape clearly and show up well from a distance. If you want one section to stand out, repeat square knots in a band rather than scattering different knots randomly. A patterned band reads as design; random knot changes read as practice.
A beginner-friendly layout often works best in three zones. The top zone is the row of attached cords, left plain so the dowel acts as a frame. The middle zone carries the square knots in a dense band. The lower zone opens back up so the fringe can hang freely. That three-part structure gives the eye a place to start, a place to pause, and a place to finish.
Spacing matters as much as the knot itself. If you place square knots too far apart, the wall hanging looks unfinished and thin. If you pack them too tightly, the piece turns stiff and heavy. A small gap between knot rows lets the pattern breathe and keeps the silhouette soft, which suits boho style better than a rigid grid.
This is where many generic tutorials go wrong: they throw in several knot types just to show variety. Variety is not the goal. For one wall hanging, consistency is what makes it look polished. Use enough repetition to create rhythm, then stop before the design becomes busy.
If the pattern starts to feel crowded, remove one row rather than adding another. A smaller design with a clear center usually looks more expensive and more intentional on the wall.
How do you choose the right cord and wood dowel?
You choose the right cord and wood dowel by matching the cord thickness to the size of the hanging and the dowel to the weight of the finished piece. For a beginner project, a cotton macrame cord and a plain wooden dowel are a forgiving combination, but the exact feel depends on the look you want.
Cord thickness changes the whole look. Thin cord produces delicate knots and finer fringe, but it is less forgiving if your tension varies. Thicker cord gives chunky knots and a more rustic look, yet it can crowd small patterns quickly. If you want a clean boho wall hanging for a first attempt, stay in the middle: thick enough to hold shape, thin enough to knot without strain.
Cord construction matters too. Single-strand cord combs into a soft fringe more easily, while braided cord holds a tighter line and can look neater in the body. If the fringe is the star of the design, single-strand is the easier choice. If the knots are the star, braided cord can look tidier.
The dowel should be straight, smooth, and long enough that the knot field does not touch the ends. A slightly thicker wooden dowel gives the hanging a sturdier top edge, but it should still fit the room and the scale of the wall. A dowel that is too short makes the hanging look cramped. A dowel that is too long can make the cord cluster look sparse in the middle.
Color also changes the result. Natural beige cord gives the classic boho look most people expect. White reads lighter and cleaner. Darker cord can look dramatic, but it also shows uneven knot tension more quickly. For a first piece, a neutral tone hides small inconsistencies better than a sharp color contrast.
The honest limitation: this project is not ideal if you want a perfectly rigid geometric design. Macrame has a soft, organic look by nature, and the cord will move. That is part of the appeal, but it means a beginner wall hanging looks best when you work with that softness instead of fighting it.
If you want to compare materials for other home projects, the DIY wall art ideas hub is the better place to branch out after this one.
How do you finish the fringe so it looks clean?
You finish the fringe by trimming, combing, and shaping the ends so the bottom edge looks deliberate instead of ragged. The last 10 minutes matter as much as the knots, because fringe is what turns the piece from a knot sample into a finished boho macrame wall hanging.
Start by hanging the piece or laying it flat and checking the bottom line. Then cut the fringe to a shape that suits the design: straight across, a soft V, or a gentle angle. A straight edge looks tidy and calm. A V shape adds movement and helps a center pattern stand out. Use the measuring tape to compare both sides before you cut, because one uneven snip can throw off the whole bottom edge.
If the cord is single-strand cotton, comb the ends with your fingers or a fine-tooth comb until they separate into soft tassels. That creates the airy boho finish most people want. If the cord resists combing, do not force it into a fluffy fringe. A lightly twisted or naturally straight end can still look good, especially on a cleaner, more minimal piece.
After combing, trim again. Loose fibers and stray strands make the edge look unfinished, so a second careful cut is normal. Work slowly and cut less than you think you need. You can always remove another 1/2 inch, but you cannot put it back.
A clean finish also includes the top. Check that the cords on the dowel hang evenly and that the knots are centered before you declare it done. If the hanging tilts, adjust the cord placement now rather than after it is on the wall.
The main drawback of fringe is maintenance. It catches dust more easily than a flat fabric piece, and it can tangle if it is shoved into storage. If you want low maintenance, keep the fringe shorter and the pattern simpler.
Common mistakes that make a beginner piece look unfinished
The most common mistakes are uneven tension, random knot spacing, and a rushed fringe trim. Each one costs the piece clarity, and each one is fixable if you catch it before hanging.
Uneven tension makes one row puff out while another sinks back. That creates a wavy, accidental look. The cure is to slow down and tighten each knot to the same feel rather than the same force. If the knots keep shifting out of line, pause and consult a trusted macrame guide before continuing. Macrame does not reward hard pulling; it rewards repeatable pressure.
Random spacing breaks the silhouette. If the knots are scattered without a plan, the piece reads like a sample board. Keep the knot band centered, and leave the side cords with a clear job: frame the center. That one decision gives the wall hanging structure.
A rushed fringe trim can cut the design apart. If the fringe ends are hacked off in a straight line with no check from side to side, the piece often looks shorter on one edge. Use the measuring tape and cut in stages. A 1-inch mistake on one side is obvious once the hanging is on the wall.
Another problem is overdecorating. Some beginners add beads, extra knot rows, and color changes because the plain version feels too simple. That usually weakens the result. A single pattern with good spacing looks more finished than three competing ideas fighting for attention.
The right fix is restraint. One strong knot sequence, one shape, and one clean finish are enough for a first boho macrame wall hanging.
Hang and adjust it so the shape reads right on the wall
You hang and adjust it by centering the dowel, stepping back, and correcting the silhouette before you call it finished. The final look changes once the piece is vertical, so do not judge it only while it is flat on the table.
Place the dowel on a wall hook or hanger that supports the full width without tipping. When it is up, the cords should fall freely and the center pattern should sit at eye level or slightly below, depending on the room. A hanging that sits too high can feel lost on the wall; one that sits too low can crowd furniture below it.
Stand back 6 to 8 feet and look at the outline. This distance shows whether the piece reads as one design or just as cords and knots. If one side looks heavier, redistribute the fringe gently with your hands. If the center seems too narrow, loosen the outer cords a little. If the bottom edge looks uneven, trim in small passes rather than one large cut.
Light matters too. Natural light shows the cord texture best, while harsh overhead light can flatten the pattern. Put the hanging where its shadows can work for it. Macrame depends on texture, and the right placement can make a simple knot sequence look more dimensional.
This is also where honesty matters about fit. A small boho wall hanging can fill a narrow space above a chair or shelf, but it will not solve a large blank wall by itself. If the room needs a statement piece, scale up the pattern or plan a pair, not a single tiny hanging that disappears.
What cord is best for macrame wall hangings?
Soft cotton macrame cord is the best starting point for most wall hangings. It holds knots clearly, frays into a clean fringe, and gives the soft boho look people usually want. Braided cord is a reasonable choice if you want a tidier edge, but it is less forgiving for fringe. Synthetic cord can look slick and is harder to shape.
Drafted with AI; not yet reviewed by a person.
Leave a Reply