Last updated: October 22, 2026
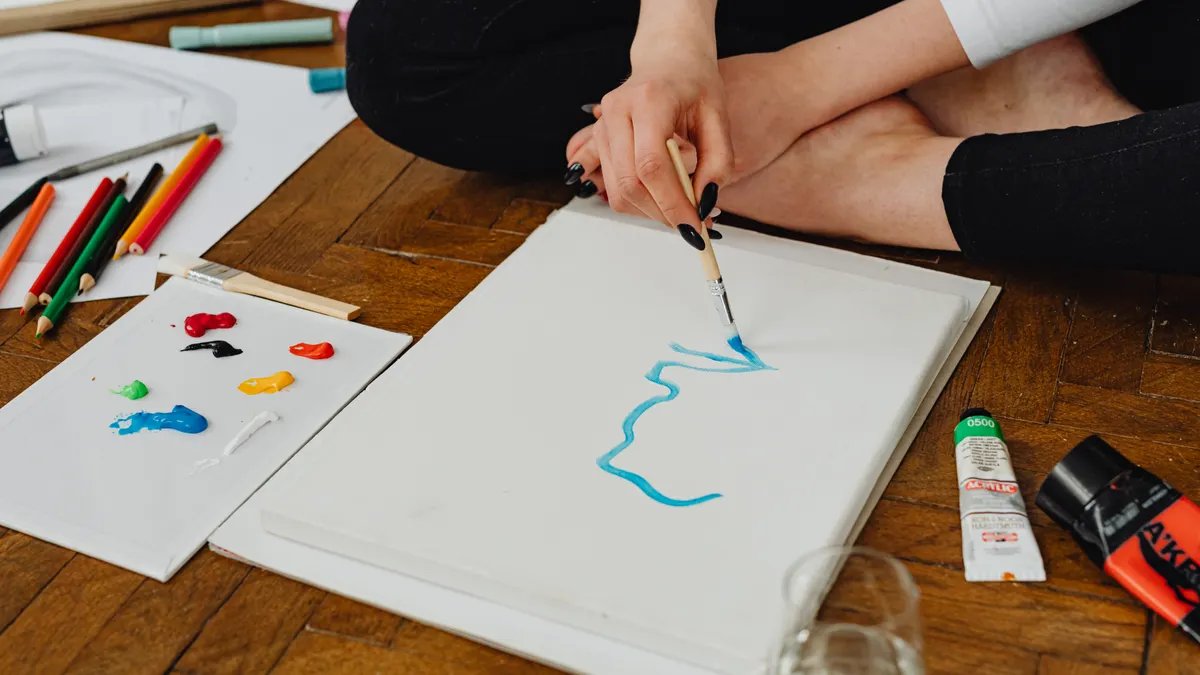
Quick answer: three low-cost projects cover most rooms: a 16 x 20 inch abstract canvas, an 11 x 14 inch printable in a frame, or washi tape wall art. DIY wall art ideas for a small budget can refresh a blank room without buying a full decor set, especially when you use simple materials, repeatable shapes, and framing choices that make cheap supplies look intentional.
Key Takeaways
- Start with one wall or one focal zone, not the whole room.
- Cheap materials can look polished when you control color, scale, and spacing.
- Canvas, frame, acrylic paint, washi tape, and printable art cover most low-cost projects.
- Renter-friendly options exist, including removable tape, lightweight frames, and unframed prints in leanable displays.
- The easiest wins come from abstract pieces, graphic tape designs, and simple framed prints.
- The biggest mistake is trying to make every wall “busy” at once.
What do you need first for DIY wall art?
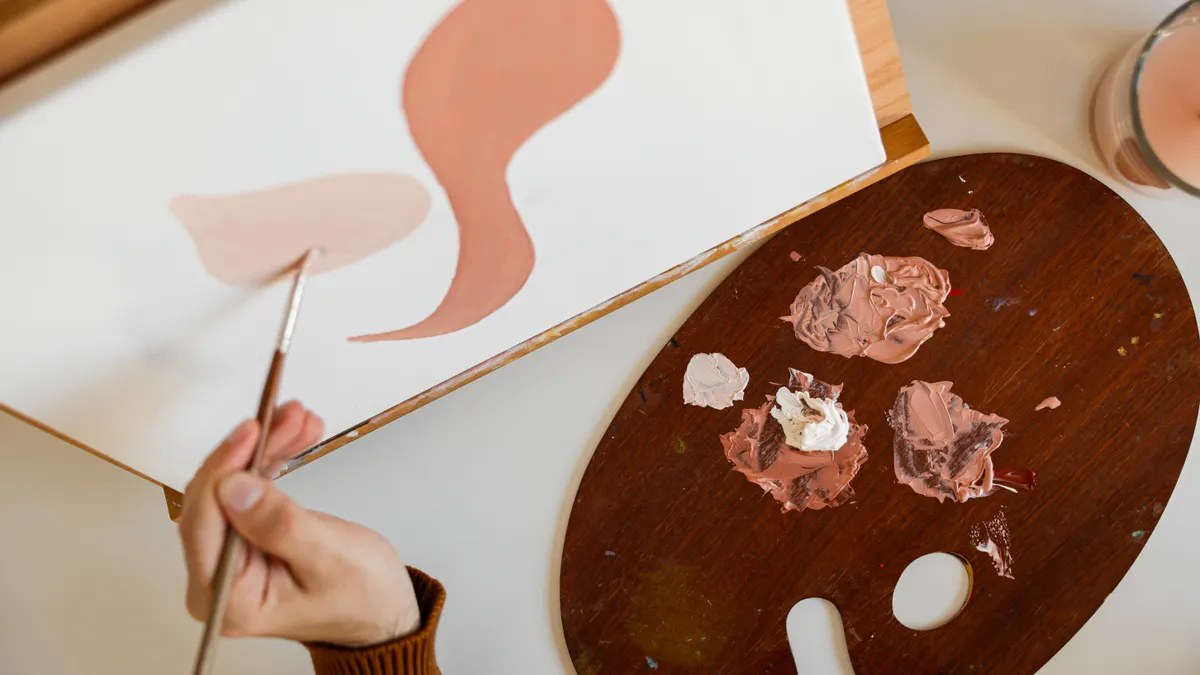
You need a size plan, one inexpensive surface, and a way to hang or display it before you buy anything else. A 16 x 20 inch frame, a small stretched canvas, or a stack of printable art gives you a clear target and keeps the project from turning into random craft shopping.
Start by measuring the wall area you want to fill. A piece above a sofa, desk, or bed usually reads better when it is noticeably larger than a single sheet of paper; a common small-budget mistake is making art that disappears on the wall. A 24 x 36 inch piece, a pair of 11 x 14 inch frames, or one oversized abstract canvas can make a stronger visual impact than five tiny items scattered across the surface.
Then choose one material lane:
- Canvas for paint-based projects and a clean, finished look.
- Frame for prints, paper art, fabric scraps, or handwritten quotes.
- Acrylic paint for bold color blocks, abstract swipes, and textured marks.
- Washi tape for renter-friendly geometric designs and temporary lines.
- Printable art for the quickest low-cost result, especially in a standard frame.
Pick one color story before you start. Two or three colors usually look calmer than six. Black, white, tan, and one accent color is a safe formula if the room already has a lot going on. If the room is plain, stronger contrast helps the art carry the space.
1. Make a simple abstract canvas with acrylic paint
You make a polished-looking abstract canvas by painting large shapes, not tiny details, and stopping before the surface gets overworked. A 12 x 16 inch or 16 x 20 inch canvas is a good size for a first attempt because it is big enough to look intentional and small enough to finish in one sitting.
Here is the core process:
-
Set the canvas flat on newspaper or scrap cardboard.
You should have enough edge space to paint past the sides without touching the table. -
Choose 2 to 4 acrylic paint colors and one tool.
A foam brush, a wide flat brush, or even a piece of cardboard can work. You should be able to mix the colors without muddying them. -
Paint one large base shape or wash across the canvas.
The surface should no longer look blank; you want a clear starting layer, not a fully covered wall of color. -
Add one or two contrasting shapes.
Keep the forms simple, such as arcs, blocks, bands, or loose organic shapes. The art should begin to have rhythm, not clutter. -
Leave some empty space.
The canvas should look balanced from a few feet away. If every inch is filled, the piece usually gets loud fast. -
Let it dry for several hours before moving it.
The paint should feel set enough that a fingertip does not pick up wet color.
This method works because it looks modern without requiring drawing skill. It is also one of the lower-cost routes when you already have a canvas and basic acrylic paint. The trade-off is that abstract art can look random if you keep adding marks. Stop early. A piece with restraint usually looks more expensive than a crowded one.
If the room is small, use a vertical composition to lift the eye. If the room has low ceilings, a horizontal canvas above a couch or bed tends to calm the wall instead of chopping it up.
2. How can I make renter-friendly wall art without damage?
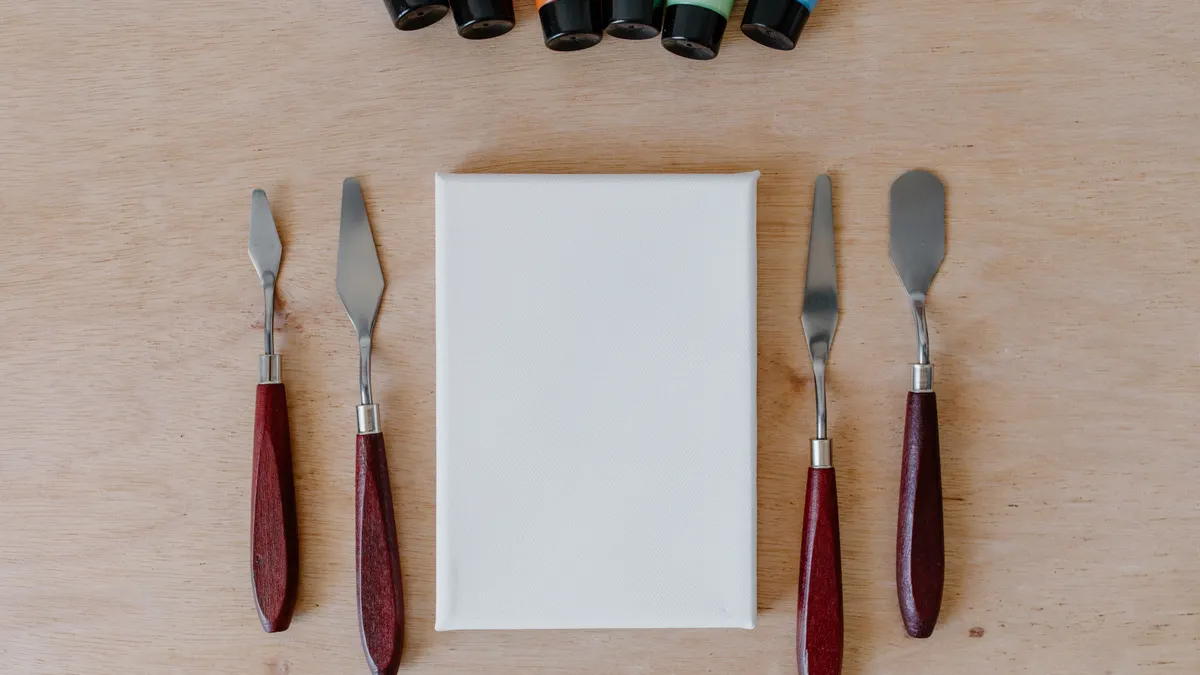
You can make renter-friendly wall art by keeping the art itself light and hanging it with removable methods instead of nails. Washi tape, lightweight frames, and leaned art on a shelf or console give you visual impact without marking the wall.
The easiest renter-friendly option is washi tape art. Tape can create stripes, borders, grids, simple arches, or faux frames directly on a painted wall. Start with a 2-inch-wide geometric pattern and use a level if you want clean lines. The look is best when the shapes are bold and minimal. Thin, fussy tape drawings often vanish from a distance.
Another good approach is a frame with printable art inside. A standard 8 x 10 inch, 11 x 14 inch, or 16 x 20 inch frame can sit on a mantel, shelf, or dresser. If you cannot drill, lean the frame against the wall and layer a second piece behind it for depth. This looks more deliberate than hanging one tiny print in a large space.
For renters, weight is the main limitation. Heavy glass frames, large canvases, and thick hardware need more secure mounting than temporary adhesive strips can always provide. If the wall surface is delicate or freshly painted, even removable products can leave marks. That makes lightweight materials the safer choice.
A simple renter-friendly formula is:
- one large leaning frame,
- one small object beside it,
- and one color echoed somewhere else in the room.
That is enough to make a corner feel styled without turning the wall into a project that needs repairs later.
3. Cheap printable art that does not look generic
Printable art looks custom when you choose strong typography, an image with breathing room, and the right frame size. A downloaded file in an 11 x 14 inch or 16 x 20 inch frame can look far better than a crowded collage printed too small.
The trick is not the file itself; it is the presentation. A thin black frame, a simple wood frame, or a white frame changes the whole read of the piece. The white border inside the frame matters too. If the print fills every inch edge to edge, it often feels cramped. A little negative space makes budget art look deliberate.
Use printable art for rooms that need fast polish:
- a hallway that feels empty,
- a desk wall that needs focus,
- a bedroom corner with no color,
- or a rental where you want to avoid permanent changes.
Printable art is also useful when the room already has strong furniture. A clean black-and-white print keeps the wall from competing with patterned bedding or a busy rug. If the room is plain, choose one print with stronger shape or color so the wall does some work.
One common mistake is using a tiny home print in a huge frame because it looks cheap up close. The opposite is usually better: use the largest frame the wall can handle, then center the printable art with enough margin around it. Even a simple quote or line drawing reads better when it is given room.
If you want a more finished look, print on heavier paper at a local print shop rather than on thin office paper. That small change often matters more than the subject of the art.
4. Simple framing ideas that make low-cost art look finished
Simple framing ideas make low-cost art look finished because a frame creates a boundary, and boundaries make almost any image feel intentional. Even a $10 print can look more polished in a clean frame than a handmade piece taped directly to the wall.
The easiest move is to match the frame to the room’s hardware and finishes. Black frames suit modern, graphic rooms. Light wood frames suit warm, neutral rooms. White frames disappear more easily, which helps when the wall color is strong. You do not need expensive matting to get a good result; a basic frame with a clean edge often does the job.
A few framing setups work especially well on a small budget:
-
One oversized frame with a simple print.
This gives a room an anchor without needing a set of pieces. -
Two matching frames stacked vertically.
This works well beside a desk or in a narrow entryway because the arrangement adds height. -
A thrifted frame repainted in one color.
Matte black or off-white paint can make an odd frame feel more unified. -
A frame used for fabric, scrapbook paper, or a postcard.
If the piece fits well, the material inside matters less than the overall composition.
The biggest budget mistake is buying several different frame styles because they are on sale. Mismatched frames can work in a gallery wall, but that is not the goal here. For a simple wall update, repetition usually looks better. Two or three identical frames create order fast.
If glass reflections bother you, especially near a lamp or window, consider a matte finish print or a frame placed where light will not hit it directly. Reflections can make even a good piece feel difficult to read from across the room.
5. What are the easiest DIY wall art projects for beginners?
The easiest DIY wall art projects for beginners are tape shapes, painted color blocks, and framed printable art because they do not require drawing skill or special tools. A beginner can finish one of these in under an afternoon, and most need only scissors, painter’s tape, a brush, or a printer.
A few beginner-friendly ideas work particularly well:
- Color-block canvas: Paint two or three large sections in acrylic paint. The result should look clean and graphic, not fussy.
- Washi tape grid: Lay down straight lines to form a pattern. This works best on smooth, painted walls.
- Framed printable line art: Use a single black line drawing in a standard frame.
- Painted paper series: Make 3 small matching sheets with the same shape in different colors, then frame them separately.
- Stencil-like tape art: Tape off a triangle, arch, or sunburst and fill it with one color.
The mistake most beginners make is aiming for “creative” instead of “clear.” Clear wins. A big shape in one strong color usually looks better than a complicated design that needs explanation. The other common trap is buying too many supplies for one project. If you need a specialty tool for a first attempt, the project is probably too elaborate for a small budget.
Begin with one wall, one color family, and one finish. Glossy acrylic, matte paint, and textured paper all behave differently, and too many finishes in one small area can make the wall feel busy. If you want the project to look calm, keep the surfaces consistent.
6. Pick the right project for the room, not just the craft
You pick the right project by matching the wall art to the room’s size, light, and visual load. A small room usually needs one bold piece or a tight pair of pieces, not a crowd of tiny art objects. The wall should help the room feel larger or calmer, not busier.
For a bedroom, soft color blocks, line art, or a single printable print often works best. Bedrooms need less visual noise, so a 16 x 20 inch frame or a muted canvas can do a lot. For a home office, sharper shapes and stronger contrast can keep the wall from fading into the background. A black frame with a clean graphic print is often enough.
For a living room, scale matters most. A piece that is too small can make the entire wall look unfinished. One larger canvas or a pair of matching frames tends to feel more settled than four little items spaced randomly. If the sofa is long, a horizontal piece usually sits better than a square one.
For a hallway or narrow corner, a slim frame, a narrow abstract print, or a vertical composition gives the eye somewhere to go without crowding the passage.
Not every DIY wall art idea is worth doing. Extremely detailed projects, complex layered painting, and heavily embellished mixed-media pieces are usually wrong for a small budget because they eat time and supplies fast. If the goal is a quick room upgrade, choose designs that look good from 6 feet away. That is the real test. If the piece works at a glance, it works on the wall.
How do I make wall art cheaply?
You make wall art cheaply by using one frame, one canvas, or one printable design and keeping the palette to a few materials. The cheapest results usually come from simple geometry, paint you already have, and standard sizes that do not need custom cutting. Avoid tiny embellishments; they cost time more than money.
What is easy wall art for beginners?
Easy wall art for beginners is anything that relies on shape and color instead of drawing skill. Acrylic paint on canvas, washi tape patterns, and framed printable art are all beginner-friendly because they allow clean results with basic tools. A project that can be finished in one afternoon is usually a smart first choice.
How can I decorate walls without damage?
You can decorate walls without damage by using washi tape, leaning framed prints on furniture, or hanging light pieces with removable hardware made for your wall type. The safest route is to keep the art lightweight and avoid heavy glass or oversized frames. If the wall finish is fragile, even removable products should be used carefully.
Drafted with AI; not yet reviewed by a person.
Leave a Reply