Category: Paper Craft Techniques for Beginners

  • How to Make Paper Gift Bags from Wrapping Paper

    How to Make Paper Gift Bags from Wrapping Paper

    Last updated: October 31, 2026

    Key Takeaways

    • Gather wrapping paper, tape, scissors, a ruler, a pencil, a hole punch, ribbon, a cardboard insert, and a few paper clips.
    • Strengthen the bottom with a cardboard insert, extra inside tape, and a centered load.
    • Measure the gift first, then leave room for seams, folds, and the top closure.
    • Choose the top closure based on how the bag will be used and opened.

    A paper gift bag is easy to make from wrapping paper when you fold it into a boxy sleeve, set a reinforced bottom, and finish it with handles or a fold-over top. For small gifts, this is faster than buying a bag and gives you a custom size without wasting a full sheet. Quick answer: you can make one in 8 steps using a 24 x 36 inch sheet for many small gifts.

    What you need before you start

    Two plain brown paper gift bags with twisted handles

    You need wrapping paper, tape, scissors, a ruler, a pencil, a hole punch, ribbon, a cardboard insert, and a few paper clips. A clean sheet in the 24 x 36 inch range is enough for many small gifts, though you can scale up or down as long as you keep the proportions.

    Choose wrapping paper with a little body. Thin, tissue-like paper tears at the folds and sags at the bottom. Heavier gift wrap, the kind that holds a crease when you run a nail along it, is much easier to shape. If you want the bag to carry anything with corners or weight, plan on adding a cardboard base.

    Set out one flat work surface, because once the first folds are made the sheet gets harder to manage on a cramped table. Keep tape strips pre-cut if you know you want a neat finish. If you are making more than one bag, use the first bag as a pattern for the rest. For measurements and fold style, the basics in our paper craft techniques guide also help.

    How do you make a gift bag out of wrapping paper?

    You make a gift bag out of wrapping paper by folding the sheet into a tube, closing the bottom like a paper lunch bag, and adding handles or a top fold at the end.

    1. Cut the paper to size. Lay the wrapping paper face down and trim it into a rectangle. A good starting point is a sheet about twice as wide as the finished bag plus 2 inches for the seam, and about 1.5 times as tall as the bag you want plus 3 inches for the top fold and bottom. When this works, the rectangle looks longer than it is wide, not square.

    2. Fold the side seam. Bring the right edge over the left edge so the paper overlaps by about 1 inch, then tape that vertical seam from top to bottom. Keep the seam on the inside of the bag if the printed side should show outside. A strong seam is flat and does not buckle when you open the paper.

    3. Shape the tube. Stand the paper up and press it into a rectangular sleeve with two flat faces and two side gussets. Pinch the corners with your fingers and sharpen the creases. You should end up with a hollow paper tube that can sit upright for a moment on its own.

    4. Make the bottom folds. Flatten the open end so the side seams line up in the center, then fold the bottom edge up by about 2 inches. Open that flap and push the side corners inward to form two triangles. When it is correct, the bottom looks like a flattened diamond with four corners.

    5. Seal the bottom. Fold the top and bottom points of that diamond toward the center so they overlap by about 1 inch, then tape them down. Add a second strip of tape across the middle if the gift is heavy. A good bottom feels stiff and does not spring open when lifted.

    6. Create the top edge. Fold the open end down by 1 to 2 inches to make a crisp hem. This hides rough edges and gives the bag more structure near the opening. If you want handles, leave enough height above the fold for the punch holes.

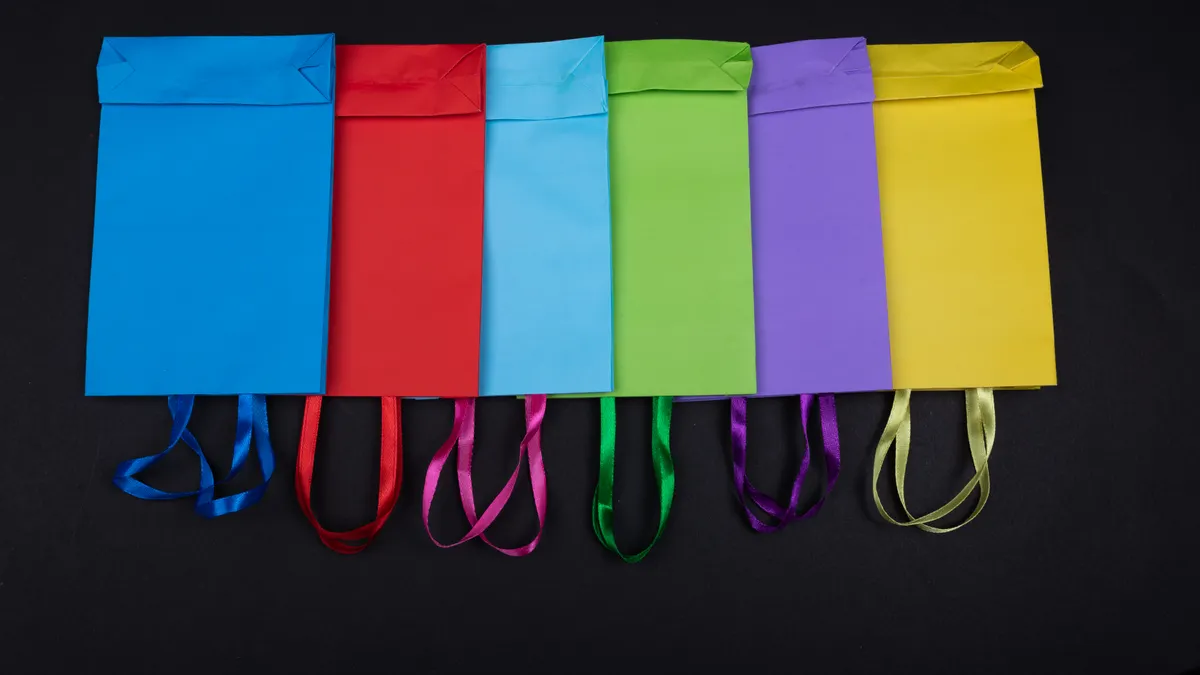
    7. Punch the handles and thread ribbon. Punch two holes on each side, about 1 inch from the top and spaced 1 to 1.5 inches apart. Thread ribbon through each pair and knot the ends inside. The bag should lift evenly without tearing around the holes.

    8. Add the gift and close it. Place the gift inside, fold the top over once, and secure it with tape, a sticker, or a paper clip. If the gift is fragile, use a cardboard insert under it so the bottom stays flat. A finished bag stands on its own and closes without bulging at the seam. If you are unsure about using a fastener for a delicate item, consult a professional crafter or packaging specialist. For ribbon and closure hardware, the Craft & Hobby Association offers general safety and supply guidance, and NielsenIQ tracks gift-wrap and seasonal purchasing trends.

    How to reinforce a paper bag bottom without ruining the look
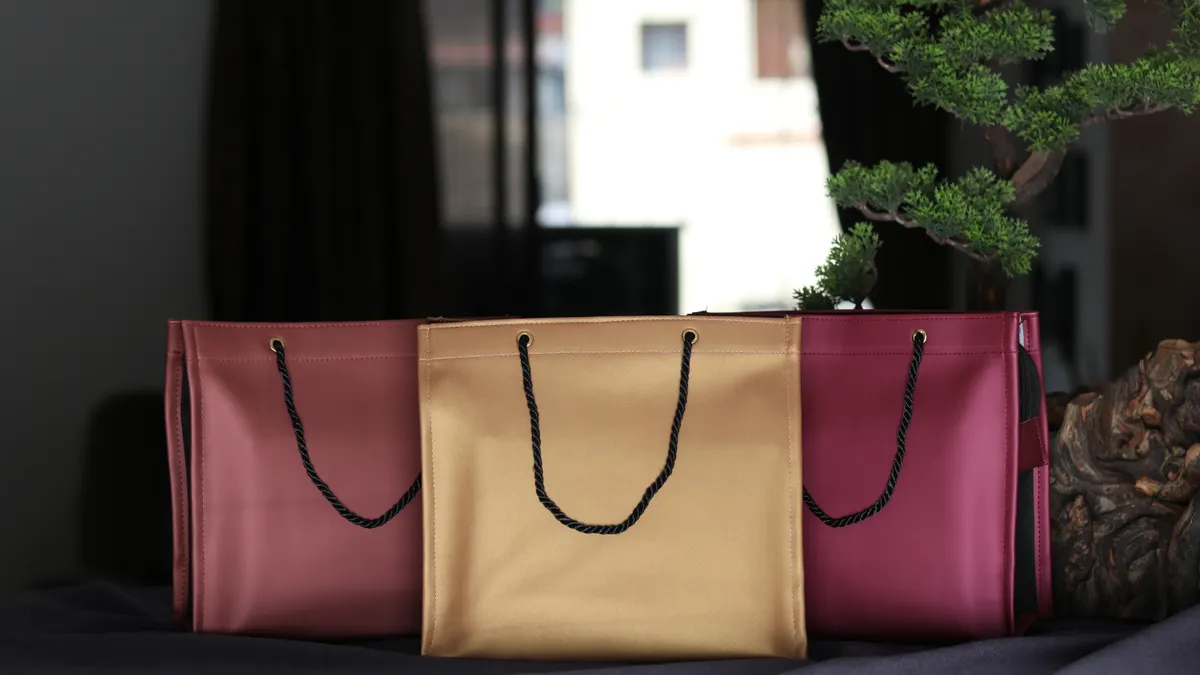
    Three handmade paper gift bags with rope handles

    You reinforce a paper bag bottom by adding a cardboard insert, using extra tape on the inside, and keeping the load centered. This matters most if the bag will hold books, glass jars, candles, or anything with sharp corners.

    Start with a piece of thin cardboard cut to the exact size of the bottom panel. A cereal-box weight insert is often enough for lightweight gifts, while corrugated cardboard gives more support for heavier items. Slide it into the bag before the gift goes in, not after. If the insert is loose, it defeats the purpose.

    Tape the bottom flap from the inside whenever possible. Two strips in an X pattern spread the stress better than one strip straight across. If the paper is thin, a second layer of paper on the inside bottom adds more strength without changing the outside look much. The bag still looks like wrapping paper, not a patched craft project.

    Paper clips can help during assembly, but they are not a permanent support. Use them to hold the bottom folds while you tape, then remove them. A clip left in place near the base can dent the paper or snag the gift when it is removed. For best results, keep clips near the fold line rather than the load-bearing center.

    The main trade-off is weight. A reinforced bottom makes the bag stronger, but it also adds thickness at the fold lines, which can make the bag look bulky. If you want a crisp, slim finish for a very light gift, a single cardboard insert and one strip of tape may be enough. If the gift weighs much more than a small box of chocolates, this style starts to reach its limit. Consumer packaging guidance from How2Recycle also notes that material mix and added layers can affect reuse and recycling choices.

    How to size the bag so the gift actually fits

    You size the bag by measuring the gift first, then adding room for the seams, folds, and top closure. The easiest mistake is cutting to the gift’s exact dimensions and forgetting that the bag needs extra paper to fold.

    For a rectangular gift, measure the width, depth, and height. Add about 1 inch to the width for the side seam, 1 inch to the depth for the gussets, and 2 to 3 inches to the height for the top fold or handle area. If the gift is an awkward shape, wrap it in a small cardboard box first or choose a bag that is slightly taller and wider than the object.

    As a rough guide, a gift that is 4 inches wide, 2 inches deep, and 6 inches tall will need a paper rectangle much larger than those numbers suggest. The flat paper has to become a 3D container, and the bottom fold alone can use several inches of height. If you cut too small, the bag puffs open at the seam or collapses at the base.

    Wide bags need more careful bottom work because the load spreads farther across the base. Tall narrow bags are easier to make, but they tip more easily if the gift is light. If you are not sure, build the first bag a little oversized and trim the top edge after the structure is done. That approach wastes less paper than starting too small. For sizing help, the U.S. Consumer Product Safety Commission gives practical guidance on keeping craft materials and small parts away from children.

    Best ways to close the top: handles, folds, or clips

    The best top closure depends on whether the bag will be carried, displayed, or handed over and opened right away. Handles suit carrying, a folded top suits a neat presentation, and paper clips work when you want a fast, temporary close.

    Ribbon handles are the most polished option. They need a hole punch and about 12 to 16 inches of ribbon per bag, depending on handle length. Punch the holes far enough from the edge that the paper does not rip, then knot the ribbon inside. If the paper is thin, reinforce the punch area with a small square of tape before punching.

    A folded top is the simplest close. Fold the opening down once or twice by 1 inch each time, then tape the folded flap to the front or back. This works well for gifts that do not need to be carried far. It gives the bag a clean line and hides the top edge of the wrapping paper.

    Paper clips are a quick temporary option. They are useful for rehearsing the fold before you commit with tape, or for holding a bag shut after a gift has been placed inside. They are not the most attractive choice, and they can leave a mark if the paper is soft. Use them when function matters more than finish.

    Common mistakes that weaken a paper gift bag

    The biggest mistakes are too little seam overlap, too little bottom support, and paper that is too thin for the gift. Each one costs you structure, and structure is the whole point of this project.

    A seam with less than about 1 inch of overlap tends to split when the bag is filled. Fix it by reopening the tube and re-taping with a wider overlap. A bottom with only one tiny strip of tape often pops under pressure, especially if the gift sits off-center. Add a second strip, and if the item is heavy, add a cardboard insert before you seal the base.

    Another common problem is overfilling. A paper gift bag that is filled to the top looks tidy for a moment, then the folds start to bow and the handles pull at the holes. Leave a small amount of breathing room above the gift so the top edge can fold cleanly. If the item is too tall, make a larger bag rather than forcing the top open.

    Rushing the creases also causes trouble. Soft folds make a floppy bag, while sharp creases give the paper a frame. Spend an extra 30 seconds on each major fold. That is the difference between a bag that stands upright and one that slumps on the table.

    For a deeper craft foundation, the guide to Paper Craft Techniques for Beginners is the right next step, because the same folding and scoring habits show up in boxes, envelopes, and other paper projects.

    How to adapt the bag for different gift shapes

    You adapt the bag by changing the width, depth, and closure style to match the object inside. A square object wants a more balanced bag, while a long object needs a tall narrow one.

    For a flat item like a notebook or gift card holder, make the bag shallow and give it a wide top fold. This keeps the paper from looking empty. For a bottle-shaped or cylindrical item, build a taller bag and use a cardboard insert so the base stays level. For small mixed gifts, such as a candle plus a note, place the items in a simple inner wrap or tissue bundle first so sharp edges do not poke through the paper.

    If you want the bag to look fuller without stuffing it, use paper clips or a loose ribbon tie to control the top instead of overloading the inside. That trick matters because the most common failure in a homemade paper gift bag is not poor decoration; it is too much force on a structure designed for small, light items.

    The honest limit is simple: this method is best for lightweight gifts and short trips. It is not the right choice for heavy or awkward items that need a rigid container. In contrast, a box or sturdier carrier is the better tool for those. But for a modest present in a few minutes, wrapping paper makes a good paper gift bag with almost no waste.

    How do you make a gift bag out of wrapping paper?

    You fold the wrapping paper into a tube, tape one side seam, close the bottom with a diamond fold, and finish the top with a hem, handles, or a fold-over closure. Start with a rectangle larger than the finished bag so you have room for seams and folds. If the paper is thin, add a cardboard insert at the base.

    How do you reinforce a paper bag bottom?

    You reinforce a paper bag bottom with a cardboard insert and extra tape on the inside. Cut the insert to the exact bottom size, slip it in before the gift, and tape the inner flaps in an X or cross pattern. That keeps the base flat and reduces the chance of tearing when the bag is lifted.

    What size paper do you need for a gift bag?

    You need a rectangle that is wider and taller than the gift by enough to cover the seam, bottom fold, and top closure. A practical starting point is width plus about 1 inch for the seam and height plus 2 to 3 inches for the top. For small gifts, a sheet around 24 x 36 inches is often enough, but the exact size depends on the object and the bag shape.

    Drafted with AI; not yet reviewed by a person.
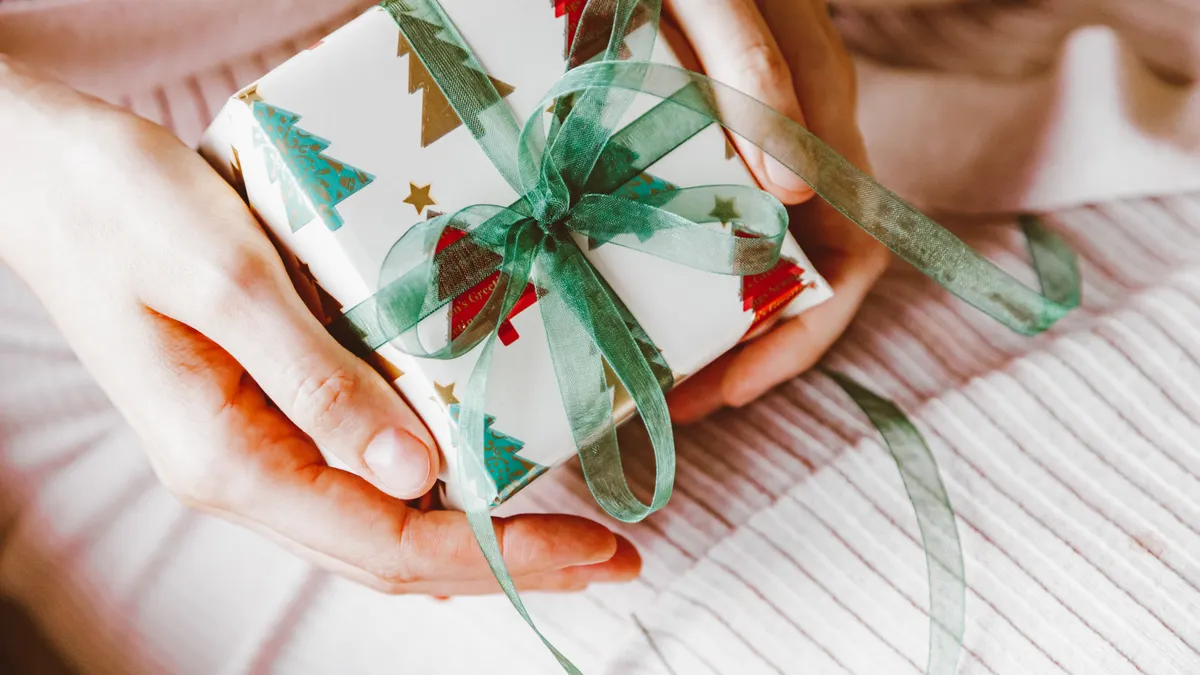
  • How to Make Paper Flowers for Gift Toppers

    How to Make Paper Flowers for Gift Toppers

    Last updated: October 31, 2026

    Quick Answer: You can make a paper flower gift topper in about 15 minutes, and a small topper usually stays best at 2 to 3 inches wide. In this guide to How to Make Paper Flowers for Gift Toppers, the goal is simple: a flower that is light, flat, and secure enough for wrapping paper.

    A wrapped box can look carefully finished in minutes. The cleanest version is small, flat enough to stay put, and light enough not to crush the paper underneath. Build it from simple layers; do not try to fake a full bouquet flower.

    Key Takeaways

    • Small gift toppers work best when the flower stays under about 3 inches wide.
    • Cardstock holds shape; tissue paper gives volume; the two can be layered together.
    • Glue dots are the easiest attachment for gift wrap because they add grip without wetting the paper.
    • Petal shape matters as much as color: round, pointed, and fringed petals each change the final look.
    • A topper should be light, flat on the back, and finished with a ribbon or center that hides the glue point.

    What you need before you start

    hands wrapping a red gift box with ribbon

    A simple paper flower topper needs 2 to 3 sheets of cardstock or tissue paper, scissors, a pencil, glue dots or a glue stick, and a ribbon-wrapped gift box to anchor it. For a medium box, one 12 x 12 inch sheet of cardstock is enough for a medium flower and a few extra petals.

    Keep everything small and tidy. This is not the place for florist wire, heavy foam, or big layered blooms. The topper has to sit flat, survive handling, and look finished from 2 feet away. Honestly, I keep a coin, bottle cap, or small circle punch nearby for the center; a neat middle makes the whole flower read as polished instead of craft-table messy.

    Cardstock gives crisp petals. Tissue paper gives soft volume. Need airy? Use tissue for the top layer and cardstock for the base. Need a sharper outline? Use cardstock only.

    Below is the quickest comparison.

    Material / Method Best use Strength Typical size
    Cardstock Crisp petals and clean edges High 2 to 4 inches
    Tissue paper Soft, airy volume Medium 2 to 3 inches
    Glue dots Fast attachment on wrapped boxes High grip on paper 2 to 3 dots
    Glue stick Light layering Medium Small flat pieces

    How to make a paper flower for a gift topper

    Start with a flower that is 2 to 4 inches across. That size reads clearly on a gift box without swallowing the ribbon or making the package look top-heavy.

    1. Cut a base circle about 1 to 1.5 inches wide.
      Use cardstock or thick paper so the base stays firm. When it works, the circle lies flat and gives you a clean place to stack petals.

    2. Draw 5 to 8 petal shapes on a folded sheet.
      A simple petal can be round, teardrop-shaped, or slightly pointed. A folded sheet lets you cut multiple petals at once, and the petals should come out close in size so the flower looks balanced.

    3. Cut the petals and separate them into two layers.
      Put larger petals in the bottom group and smaller petals on top. That size shift is what creates depth instead of a flat cutout.

    4. Curl or crease each petal slightly with your fingers or a pencil.
      A small curl gives the flower movement. If the petals bend instead of snapping, the flower will look softer and less stiff.

    5. Glue the outer ring of petals to the base circle.
      Space them evenly around the edge, leaving a little overlap. When the ring is right, the base circle should still peek through near the middle, but the edge should look full.

    6. Add the second layer of petals offset from the first.
      Place each petal between two petals below it, not directly on top of them. That offset is what makes the flower look layered instead of stacked in a square pattern.

    7. Finish with a center that covers the glue point.
      Use a small rolled paper spiral, a punched circle, a button, or a tight tissue knot. The center should hide any rough cuts and make the flower read as complete from across the room.

    8. Attach the finished flower to the gift box with glue dots.
      Put 2 or 3 glue dots on the back of the base circle, press it onto the ribbon or directly onto the wrapping paper, and hold for a few seconds. If it stays put when the box is tilted gently, it is ready. For fragile paper or a box that will be carried often, check the adhesive instructions on the package or ask a craft professional if you are unsure.

    This method can scale a little, but it works best when the topper stays small. A 2-inch flower looks neat on a small favor box, while a 3-inch flower suits a standard gift box. Go much larger, and the topper starts behaving like decoration instead of packaging.

    Which petal shapes look best on a gift topper?

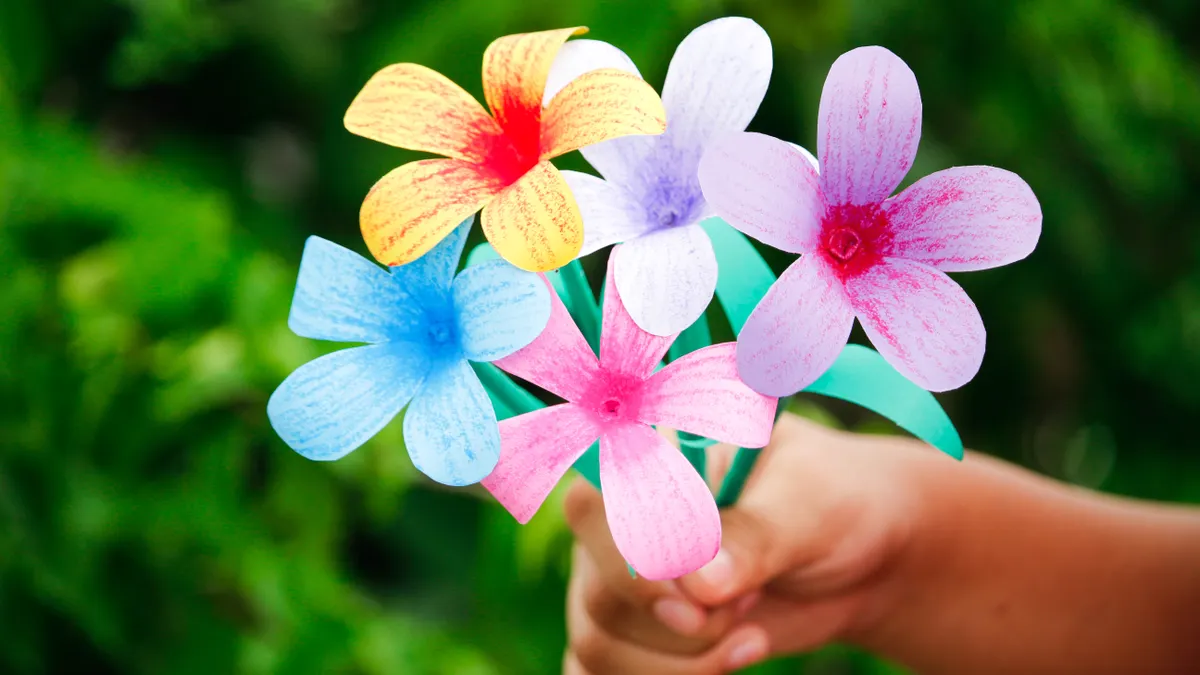
    hand holding colorful paper flowers

    Round and pointed petals are the easiest shapes to read on a small gift, and fringed petals add texture when the flower needs more personality. A gift topper does not need botanical accuracy; it needs a clear silhouette at small scale.

    Round petals feel soft and friendly. They work well for birthday boxes, baby gifts, and anything that should look gentle. Pointed petals create a sharper, more graphic flower that suits modern wrapping with solid ribbon or striped paper. Fringed petals help when the topper feels too plain, because even a few snips around the edge can turn a basic circle into a chrysanthemum-like bloom.

    The size of the petal matters as much as the shape. Too long, and the flower looks floppy. Too short, and it can read like a rosette with no definition. A good working range is about 1 to 2 inches long for a small gift flower. That keeps the petals visible without making the topper spread too far across the box.

    Thick cardstock calls for wider petals so they do not look stiff. Tissue paper needs narrower petals so the layers do not bunch up too much. The goal is a topper that reads at arm’s length and still feels light enough for a gift package. Otherwise, it turns into paper soup.

    Layering petals so the flower looks full, not bulky

    Layering works best when the bottom petals create the width and the top petals create the finish. That structure gives a small flower the fullness of a larger bloom without making it heavy.

    Begin with the widest petals on the base circle. Space them evenly, and let the tips slightly overlap. Then add a second ring that sits in the gaps between the first ring. Want more dimension? Add a third ring with petals that are about 1/4 inch shorter than the first set. That small difference keeps the flower from looking like a stack of identical cutouts.

    For tissue paper, 2 layers are usually enough. Tissue builds bulk quickly, and too many sheets can make the topper wrinkled instead of fluffy. Cardstock usually looks better with 3 layers because the paper is stiffer and needs more overlap to feel full.

    A common mistake is to push every petal straight up. On a gift topper, that creates a dome that gets crushed as soon as the box is handled. Keep the layers low and angled outward a little, so the flower stays profile-friendly. If a petal lifts too far, press it down with your fingers for a few seconds before moving to the next one.

    The center matters here too. A tight paper circle, a rolled strip about 1/4 inch wide, or a small layered punch shape can pull the whole flower together. Without that final cover, the center may show glue marks or uneven cuts, and the topper stops looking finished.

    How do you attach paper flowers to a gift?

    Attach paper flowers to a gift with glue dots or a strong ribbon anchor, because both can keep the topper secure without soaking the wrapping paper. Glue dots are usually the quickest option for most gift boxes.

    Place the flower where the ribbon intersection or central top panel gives it a natural anchor point. With a bow, tuck the flower into the knot or press the back of the flower onto the ribbon tails. If the box is wrapped flat with no ribbon, place 2 to 3 glue dots on the flower base and press it to the paper for several seconds.

    A glue stick is less reliable for a topper because it can lose grip on slick wrapping paper. Liquid glue can warp thin paper and leave visible wrinkles. Glue dots avoid both problems, which is why many crafters prefer them for a clean gift finish.

    If the flower is made from cardstock and feels stiff, a single glue dot in the center may not be enough. Use two dots spaced apart on the back of the base circle. If the topper is made from tissue paper, do not press too hard, because tissue can tear before the adhesive grabs.

    One useful check: lift the box by the sides and tilt it slightly. If the flower slides, add another dot or shift the flower closer to the ribbon. The topper should feel like part of the package, not something perched on top.

    Common mistakes that make paper flower toppers look messy

    The most common mistake is making the flower too large for the box, and the cost is a topper that overwhelms the wrapping instead of finishing it. If the box is small, keep the flower under about 3 inches wide. A larger bloom belongs on the package only if the rest of the wrapping is very simple.

    Another problem is using too much glue. Wet adhesive can stain tissue paper, buckle thin cardstock, and leave shiny spots. Use glue dots when possible, and use just enough pressure to hold the layers together. If you need liquid glue for a center, apply it with a toothpick or a very small dab.

    Uneven petals are another trap. If each petal has a different width or length, the flower looks accidental. Cut a template first, then trace it 5 or 6 times so the set stays consistent. A tiny mismatch is fine; a dramatic mismatch reads as a mistake.

    People also forget the back of the flower. A rough underside with dangling scraps can scratch ribbon or pop loose from the package. Trim the underside clean and flatten any raised glue before attaching it.

    Finally, do not overload the topper with beads, too many paper curls, or heavy embellishments. A gift topper needs lightness. If it starts to droop after a few minutes, the decoration is too dense for the paper and the box.

    Small-scale paper flowers that work best on gift packaging

    Small-scale paper flowers work best when the parts are simple, the center is compact, and the whole piece stays under 1/4 inch thick at the back. That slim profile is what keeps the topper from fighting the ribbon or snagging on hands.

    A single rosette shape is often the easiest small topper. Cut a spiral strip of paper about 1/2 inch wide, roll it tightly, and flatten the base into a flower-like spiral. It gives a polished look with very little material. A layered daisy is another good choice: 5 to 8 petals, one small center, and a flat base. A tiny peony-style flower can work too, but it needs more petals and more trimming, so it takes longer.

    The paper choice changes the result. Cardstock gives crisp edges and suits clean, modern wrapping. Tissue paper gives a softer finish and looks good on gifts with satin ribbon or bright wrapping paper. Mixing the two is useful when the topper needs body and softness at the same time.

    This is not the right method for a full bouquet look or for large wall flowers. It is meant for package tops, favor boxes, and gift bags that need a finished accent in a very small footprint. For broader beginner techniques, the hub on [Paper Craft Techniques for Beginners] can support the basic cutting and folding skills that make this easier.

    A gift topper should look made on purpose, not oversized. If the flower still looks balanced when you view it from a little distance and the ribbon remains visible, the scale is right.

    What paper works best for paper flowers?

    Cardstock works best for crisp petals, while tissue paper works best for soft, airy layers. Cardstock in the 65 to 80 lb range is sturdy enough for small toppers without feeling bulky, and tissue paper is useful when you want volume without weight. For a clean gift finish, many toppers use both: cardstock for the base, tissue for the top. See also [How to Choose Cardstock Weight] and [Gift Wrapping Basics].

    How do you make small paper flowers?

    Make small paper flowers by cutting 5 to 8 petals, building them on a 1 to 1.5 inch base, and layering the petals in two rings. Keep the flower about 2 to 4 inches wide so it still reads clearly on a gift box. Small petals, tight centers, and low layering are what make the piece look finished instead of crowded.

    How do you attach paper flowers to a gift?

    Attach paper flowers to a gift with glue dots, pressing them to the ribbon or wrapping paper for a few seconds until they hold. Two or 3 dots usually secure a small topper, but if the box will be handled a lot, check the adhesive instructions or ask a craft professional before relying on a single attachment point. If the package has a ribbon knot, that is the strongest place to anchor it. For slick paper, avoid liquid glue because it can wrinkle the wrap.

    Drafted with AI; not yet reviewed by a person.