Last updated: October 22, 2026
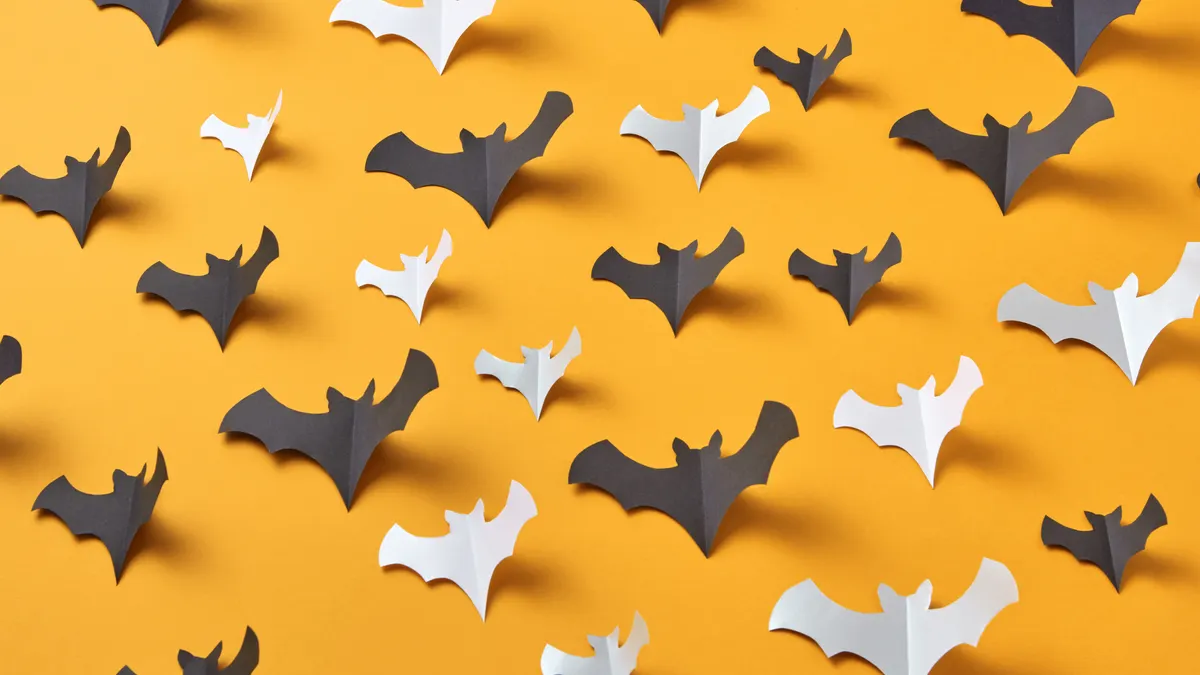
Quick Answer: three to five paper decorations, repeated across one window, mantel, or wall, are usually enough to make a room feel seasonal without clutter. Easy Halloween Paper Crafts for Home Decor use black paper, orange paper, scissors, glue, and string to turn a room into a seasonal space for a few weeks, then fold away cleanly afterward. If the goal is indoor decor that looks festive and stores flat, paper is a practical option.
Key takeaways
- Paper decorations work best when you keep the shapes large, the cuts simple, and the color palette tight.
- A few repeatable forms — bats, pumpkins, garlands, and window silhouettes — cover most home-decor needs.
- Black paper gives strong contrast, while orange paper keeps the look unmistakably Halloween.
- Glue dots, tape, and string make wall and window displays easier than heavier adhesives.
- These crafts suit renters, small apartments, and anyone who wants budget Halloween decor without storing oversized items.
- They are less useful if the room already has very dark walls or if you want decorations that survive damp porches or strong outdoor wind.
Build a simple paper-decor kit before you cut anything
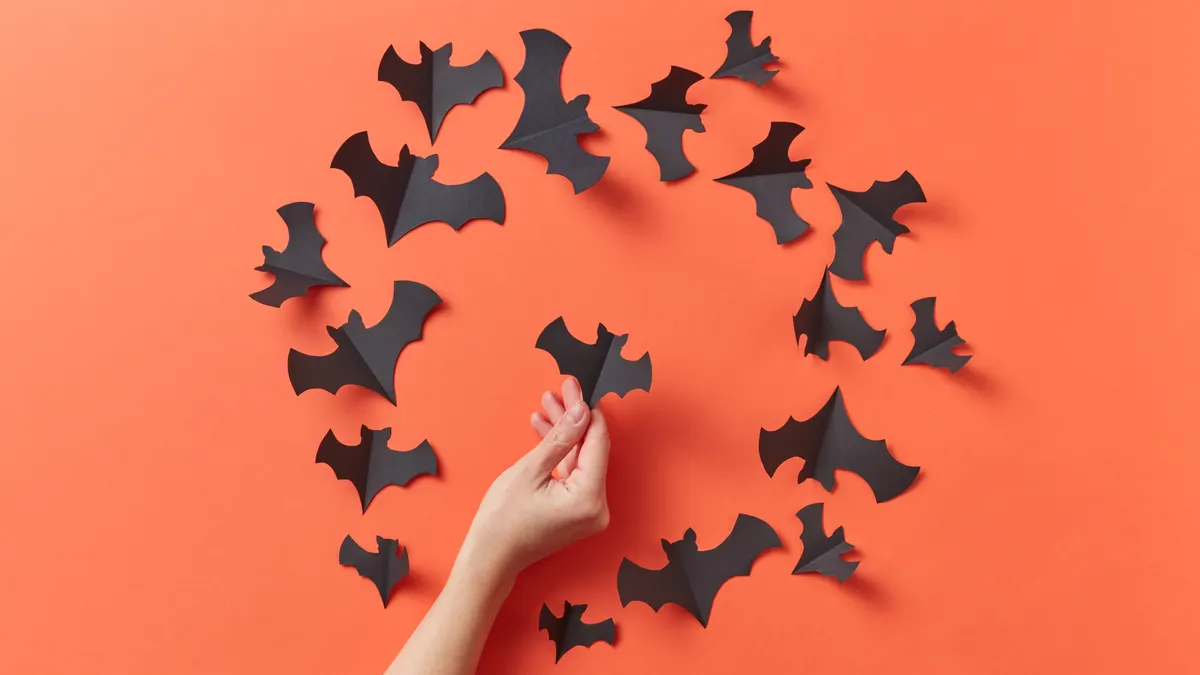
A small kit keeps these crafts cheap, fast, and repeatable. For most homes, a stack of black paper, orange paper, white paper, scissors, glue, string, a pencil, and tape is enough to make several displays without buying specialty supplies. A 12-by-12-inch scrapbook pack works well for larger shapes, while standard letter paper suits smaller cutouts and layered pieces.
Start with two colors, not five. Black and orange do the heavy lifting for Halloween. White can help with eyes, teeth, or moon shapes, but too many extra colors make the room look like a classroom project instead of decor. If the aim is a clean, adult look, limit the palette to three colors and repeat the same shapes across a room.
The other choice is finish. Construction paper is cheap and easy to cut, but its matte surface can wrinkle if you use too much glue. Cardstock holds shape better on window displays and hanging pieces, but it takes a sharper scissor blade and more hand pressure. That trade-off matters if you are making 15 or more bats or pumpkins; thicker paper looks neater, but it slows assembly.
A ruler helps, even for casual projects. A 6-inch strip cut from a sheet can become a garland link, a pumpkin stem, or the body of a bat. Consistent sizes make the whole display feel intentional. That matters more than adding detail. A set of 10 matching shapes usually looks better than 20 uneven ones.
How do you make Halloween decorations from paper?
You make Halloween decorations from paper by cutting repeatable shapes, arranging them in groups of 3 to 12, and fastening them with tape, glue, or string. One useful approach is to choose one shape per area of the room and repeat it instead of making a different craft for every surface.
Here is a simple process that works for most indoor setups:
- Pick one spot first, such as a mantel, window, mirror, or bookshelf, so the crafts fit the surface instead of floating in isolation.
- Trace or sketch one shape on paper, using a pencil and a 4- to 6-inch template if you want the pieces to match.
- Cut 6 to 10 copies of that shape before you start decorating, because batches look cleaner than one-off pieces.
- Lay the pieces on the surface before attaching them, which helps you see spacing and keeps the display from feeling crowded.
- Attach the shapes with removable tape, small glue dots, or a thin line of glue, depending on whether the surface is glass, painted wall, or cardboard.
- Add a second layer only if needed, such as eyes on bats or stems on pumpkins, so the craft reads clearly from across the room.
- Step back 6 to 8 feet and check whether the shapes still read as Halloween decor rather than scattered cut paper.
The big mistake here is over-detailing. Tiny fangs, nested layers, and intricate cutwork look clever at the table, then disappear once they are across the room. A silhouette with a sharp outline reads better. Keep openings large enough that the shape survives when taped to glass or hung from string.
Another mistake is mixing paper weights in one display without planning for it. Lightweight paper curls at the edges, especially on windows that get afternoon sun. Heavier cardstock stays flatter but needs stronger tape or more glue. Use one weight for a whole garland or one window panel so the finished piece hangs evenly.
Easy Halloween paper bats for walls and windows
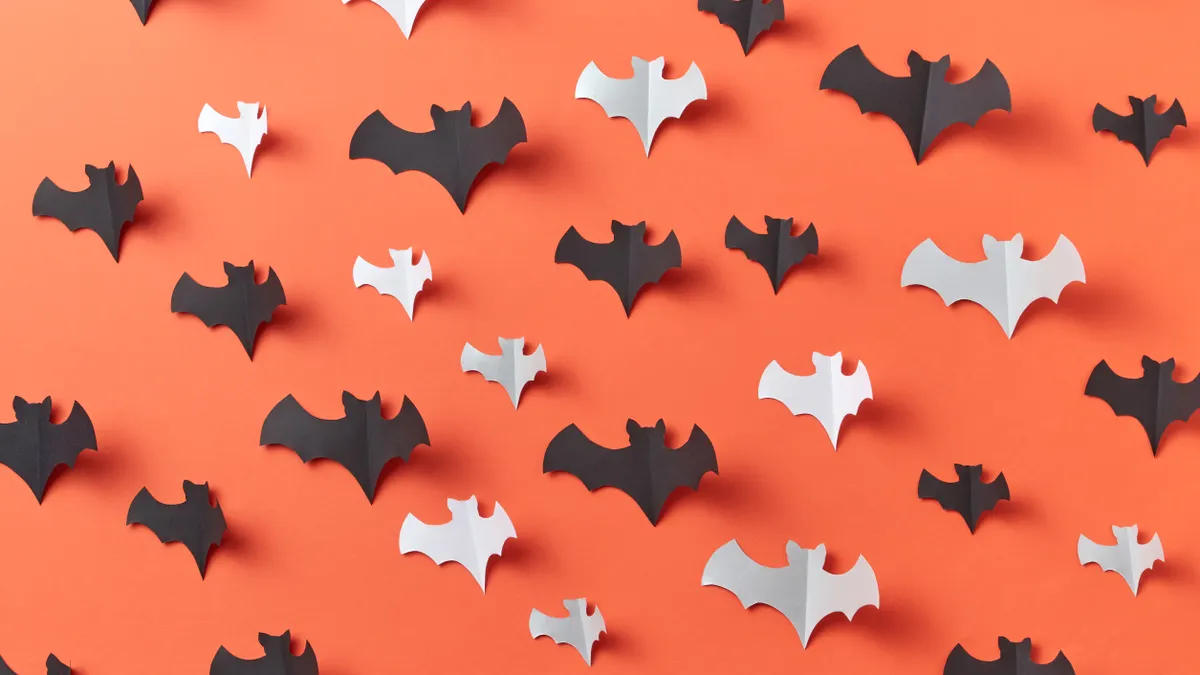
Paper bats are the easiest way to fill a wall or window with Halloween shape and movement. A few bat silhouettes in different sizes create a lot of visual impact with very little cutting.
Start with black paper and make a simple bat template about 3 to 5 inches wide for small displays or 6 to 8 inches wide for a focal wall. Fold the paper in half before cutting if you want symmetrical wings. One side should hold the body and wing shape; the other opens into a clean mirror image. This saves time and keeps the edges even.
For a standard window, 7 to 9 bats usually looks balanced without feeling crowded. Place the smallest bats near the top corner, then let larger ones drift outward or downward. That staggered layout suggests motion, which is why bats read better than a straight row. If the window is narrow, use only 3 to 5 larger bats and keep the spacing loose.
For glass, clear tape works if you roll it into tiny loops behind the paper. Removable adhesive dots are better for painted walls because they hide behind the bat body. String works if you want bats to hang from a curtain rod or shelf lip; cut a 12- to 18-inch length for each cluster and stagger the heights by 2 or 3 inches.
Keep the bat faces minimal. Two small white eye dots, or no face at all, is enough. The shape itself does the work. If you add too many teeth or eyes, the display stops looking graphic and starts looking busy.
These bats are not ideal for a room that already has a lot of black furniture or dark walls. The contrast can flatten out, and the shapes lose their punch. In that case, make the bats larger or switch to orange accents around them.
Paper pumpkins that look good on a shelf or mantel
Paper pumpkins are a strong choice when the room needs a softer Halloween look than bats or skull silhouettes. They work on mantels, shelves, side tables, and entry consoles because they add roundness and color without taking up much depth.
The simplest version uses orange paper strips. Cut 6 to 8 strips, each about 1 inch wide and 8 to 10 inches long. Curve the strips into loops, glue or tape the ends together at one point, and fan them around a small paper circle or folded ring. Add a short green or brown paper stem on top. The result is a rounded pumpkin shape that stands up better than a flat cutout.
A layered flat pumpkin is even easier. Cut one orange circle or oval, then add a darker orange or brown stem and a few vertical crease lines with a pencil. This version is useful when shelf depth is tight, because it can lean against books or a frame. If you want more dimension, cut a second, slightly smaller orange shape and glue it behind the first at a slight angle.
For a mantel, group pumpkins in odd numbers. Three tends to look more natural than two, and five works well if you have room for a 24-inch span or wider. Mix one large pumpkin with two smaller ones so the display has height variation. A single flat pumpkin often disappears beside candles, frames, or books; a trio reads as a deliberate arrangement.
The trade-off with paper pumpkins is sturdiness. They look best indoors and away from direct fan air or open windows. If you want the effect to last, use cardstock rather than thin paper for the strip loops. Thin paper is easier to bend, but it softens and caves in faster. That matters on a shelf that gets handled often.
Window decorations that turn daylight into part of the craft
Window decorations are the most efficient use of Halloween paper crafts because daylight does half the work for you. A window can hold silhouettes, garlands, and layered shapes without needing extra room on the floor or furniture.
The easiest approach is a two-layer window scene. Put black shapes on the glass and use orange shapes just inside the room to create contrast. For example, a row of bats on the glass and a strip of orange paper pumpkins on the sill creates depth without clutter. If the window faces a street, silhouettes will read clearly from outside and inside.
For a clean layout, treat the window like a rectangle with margins. Leave 2 to 4 inches of open space around the edges so the composition does not look jammed into the frame. If you are unsure about a tall or awkward window, consider checking the layout with a decorator or installer before taping anything in place. A centered design works well for smaller windows, while tall windows can handle a vertical cascade of bats or a hanging paper chain. If the window has blinds, hang pieces from the top rail with string and let them fall in front of the slats.
Paper chain garlands still work here, but keep the links wide enough to show shape from a distance. A 1-inch-wide strip can look flimsy; a 1.5- to 2-inch strip reads better across a room. Alternate black and orange links for a classic Halloween strip, or use all black if the room already has plenty of color.
The main limitation is glare. Strong daylight can flatten details, especially on glossy paper. Matte paper and thicker cardstock help, but they do not eliminate reflection. If the window gets harsh sun, use bolder shapes rather than delicate cutwork. The simpler the silhouette, the better it survives changing light.
Budget Halloween decor ideas that fill a room fast
Budget Halloween decor works best when one paper shape repeats in several places instead of when every surface gets a different craft. That approach stretches one pack of paper across a whole room and gives the decor a consistent look.
Use the same bat shape on a mirror, a hallway wall, and a window. Repeat the same pumpkin form on a shelf, a side table, and a frame corner. Repeat shape is cheaper than variety because you spend less time designing and less time sorting scraps. If you are using 8.5-by-11-inch sheets, one sheet can often yield multiple small cutouts if the template is compact.
Paper string garlands are especially useful for budget decor. Cut a set of simple shapes, punch two tiny holes near the top if needed, and thread them onto string with small knots or tape loops behind each piece. Hang the finished garland over a curtain rod, across a bookshelf, or along the edge of a mirror. A garland gives you horizontal movement for very little material.
If the room needs volume, use clusters rather than single decorations. Three bats together have more presence than one larger bat alone. Five pumpkins on a mantel look fuller than one oversized centerpiece. Clustering also hides small cut imperfections, which is useful when the scissors are not razor-sharp.
This style is not for anyone who wants heirloom decor or weatherproof pieces. Paper is light, easy, and cheap, but it dents, curls, and tears. That is the point for seasonal indoor decorating. The goal is a fast room update, not a long-term prop collection.
For readers who also like reusable seasonal paper projects, the same cut-and-assemble approach carries over well to the hub on christmas ornament craft ideas for adults.
Finish the display so it looks intentional, not homemade in the wrong way
A finished Halloween paper display looks intentional when the edges are clean, the spacing is even, and the colors repeat at least three times. The last 10 minutes matter as much as the cutting.
First, trim stray tabs and overlong hanging string. A 2-inch tail of thread can make a neat garland look unfinished. Next, check balance from the doorway, not from arm’s length. The room should read as decorated from 6 to 10 feet away, because that is how most people will see it. If a corner feels empty, add one large shape rather than several tiny ones.
Then unify the finish. Use the same tape color where possible, keep the same paper finish in each zone, and repeat one material in more than one place. A black bat on the wall, a black bat in the window, and a black bat in the mirror link the room together. Without that repetition, the decor starts to feel random.
Do not overload every surface. A mantel, one window, and one mirror are usually enough for a room-sized setup. More than that can make the space feel cluttered, especially if the paper shapes are all the same scale. Leaving one or two plain surfaces gives the decorations room to breathe.
The simplicity of paper decor is also its limit: it works because the shapes are clear and the color story is tight. Once those pieces are in place, stop adding more. That is what keeps Halloween paper crafts easy, cheap, and worth leaving up for the season.
What are easy halloween paper crafts?
Easy Halloween paper crafts are simple cutout decorations made from paper, scissors, glue, and string. The easiest versions are bats, pumpkins, garlands, and window silhouettes because they rely on bold shapes rather than detailed folding. They work well indoors, cost little to make, and are simple to store flat after the season ends.
How do you make halloween decorations from paper?
You make Halloween decorations from paper by choosing one shape, cutting several copies, and attaching them to a wall, window, shelf, or mirror. A basic bat or pumpkin shape usually starts with black paper or orange paper, then uses tape, glue, or string to place the pieces in a group that reads clearly from a few feet away.
What can i decorate with paper for halloween?
You can decorate windows, walls, mirrors, mantels, shelves, and door frames with paper for Halloween. Paper works best on smooth indoor surfaces where lightweight cutouts can be taped, glued, or hung. It is especially useful for renters and small spaces because it creates seasonal decor without heavy fixtures or bulky storage afterward.
Drafted with AI; not yet reviewed by a person.
Leave a Reply