Last updated: October 20, 2026
Key Takeaways
- Start with a woven basket so texture does most of the visual work.
- Build the basket with one color, one wrap, one filler, and one finishing accent.
- Ribbon can make a basket feel finished in under 10 minutes.
- Paper filler sets the first color people notice.
An Easter basket looks better when the outside carries the theme, not just the eggs inside. Want a fast win? Use a woven basket, ribbon, a simple spring palette, and one personal detail like a name tag or felt flower. For broader craft guidance, an adult Easter basket guide, spring craft supplies, and holiday gift wrap ideas can help you match materials before you start.
Start with the basket you already have
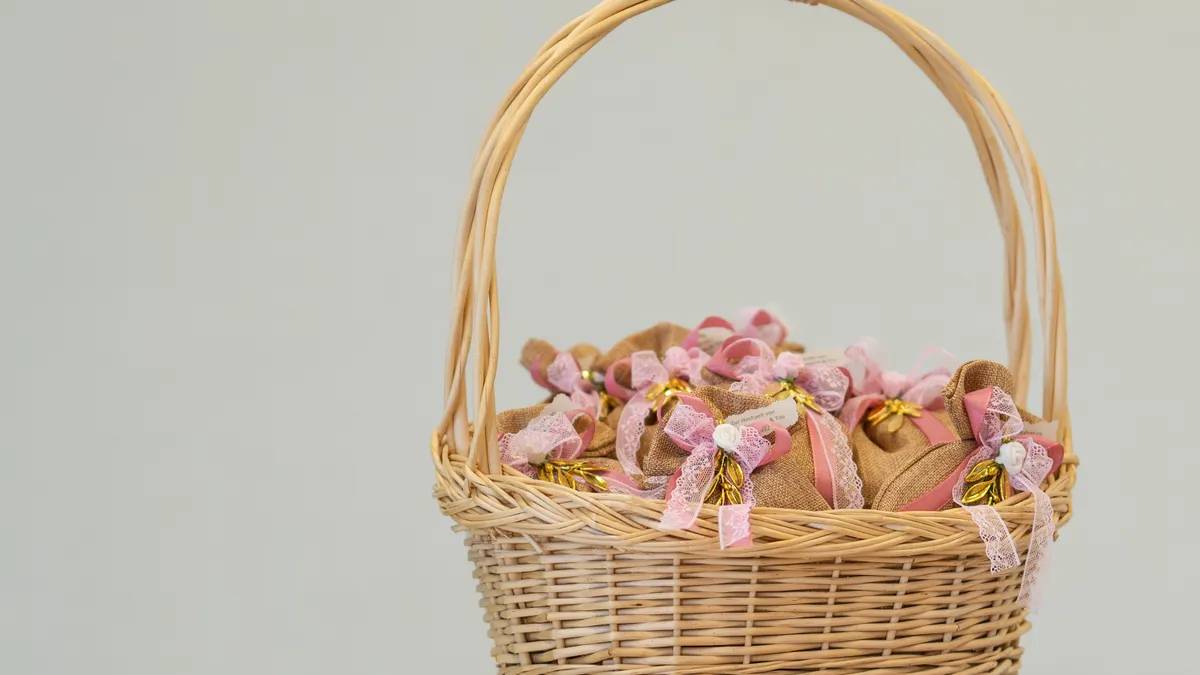
A plain woven basket is a strong starting point because the texture does half the work for you. Shallow or medium-sized baskets with handles are easier to decorate than deep ones, and they give ribbon, paper fillers, and tags a place to sit without disappearing.
Dusty basket? Wipe it with a dry cloth first. That tiny step pays off because glue grabs better on clean wicker, and ribbon stays put instead of skating over dust. On painted baskets, the same wipe keeps color from rubbing onto your hands.
Choose one base direction before you add details. Natural wicker takes pastel ribbon and paper shreds nicely. Painted baskets can carry bolder trim, like gingham ribbon or felt flowers. White baskets are flexible, but they need contrast, so reach for a darker tag, brighter ribbon, or a fuller filler.
Trying to decorate every surface is the main mistake here. It turns a basket into visual static and makes it harder to carry. One accent at the rim, one detail on the handle, and one tag at the front is usually enough.
How do you decorate an Easter basket step by step?
Pick one base color, wrap the handle or rim, add a filler or trim, then finish with a name tag or flower accent. That order keeps the basket from feeling crowded and lets each detail read clearly from arm’s length.
- Choose a 2- or 3-color palette before you touch the basket. Soft pink, cream, and sage feel gentle; yellow, lavender, and mint feel brighter; blue, white, and natural wicker feel cleaner.
- Wrap the handle or top rim with ribbon in a 1/2-inch to 1-inch width. Spiral it loosely around the handle or tie it in short bows along the rim for a lighter look.
- Add paper filler at the inside edge if you want height and color. Crinkle-cut paper, tissue strips, or raffia gives the basket a finished look without hiding the weave.
- Attach a name tag to the front or the handle with twine, baker’s twine, or narrow ribbon. A simple tag can be a cardstock oval, a gift tag, or a small wooden shape.
- Finish with one focal detail, such as a felt flower cluster, a tiny pom-pom garland, or a single bow. That final accent should sit where the eye naturally lands first.
Keep the attachment methods simple. Double-sided tape works for lightweight paper details, but ribbon and felt usually hold better with hot glue or small knots. Decorating a basket for a child? Make sure the handle still feels comfortable and nothing sharp pokes through the weave. When attachment strength or materials feel uncertain, consult a craft professional or follow the adhesive directions on the package.
This method works especially well for a basket that will be used and carried, not just displayed. It is less suited to a highly elaborate basket with multiple layers of trim, because every extra layer adds bulk and makes the handle harder to grip.
Ribbon wraps that make a basket look finished
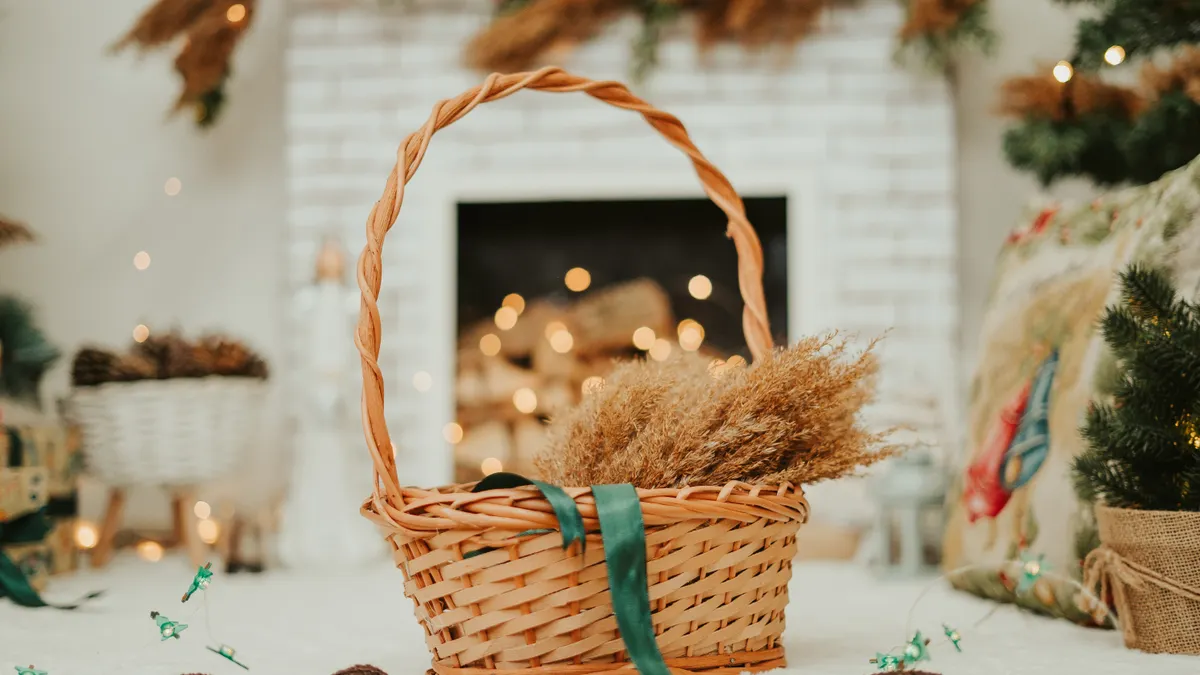
Ribbon wraps make a basket look intentional in under 10 minutes. One ribbon type gives structure; one small accent adds depth, if you want it.
A 1/2-inch satin ribbon gives a neat, polished line. Gingham reads as playful and springlike right away. Grosgrain is the sturdier pick if the basket will be handled a lot, because it holds its shape better than slippery satin.
There are three good ways to use ribbon on the basket itself, and for children’s baskets or frequent-use baskets, it helps to check that the finish stays secure and comfortable to hold:
- Handle wrap: Wind ribbon around the handle in even turns and secure both ends on the underside.
- Rim wrap: Run ribbon around the top edge of the basket and tie it into a bow at the front.
- Vertical ties: Thread short strips through the weave and knot them in small tails around the basket’s upper third.
Handle wrap is the cleanest option. Rim wrap creates a more decorative frame. Vertical ties work best on wide, open-weave baskets where the ribbon can show through the gaps.
One common misstep is picking ribbon that is too wide for the basket. A 2-inch ribbon can swamp a small basket and make the handle bulky. On a medium basket, keep the main ribbon around 1/2 inch to 1 inch and use wider ribbon only as a bow accent.
Want a traditional feel? Pair ribbon with woven texture and keep the bow small. Want something playful? Use two ribbons at once, such as pastel pink and white polka dot. For a more tailored basket, use one solid ribbon and one crisp gift tag instead of extra layers.
Paper fillers, trim, and the hidden base that changes everything
Paper fillers change the whole basket because they control the color you see first. A nest of crinkle paper, tissue strips, or shredded craft paper lifts the top edge visually and makes a simple basket look fuller.
Use paper filler in a way that supports the basket instead of burying it. Start by placing it around the inside edge, then fluff it slightly above the rim. That gives the basket a soft frame without blocking the weave. Natural look? Reach for kraft paper or raffia. Brighter look? Choose pastel shred in mint, pink, or yellow.
Felt flowers are the easiest trim to add after ribbon. They sit flat on a handle, stay light enough for glue dots, and keep the spring feel without fuss. A single cluster of 3 flowers often looks better than scattering them around the basket. Place the group near the front or the handle knot so it reads as a planned detail.
This is also where the basket can go sideways. Too much filler makes it look stuffed, and the top layer can hide the structure that makes woven baskets attractive in the first place. Too little filler leaves the inside looking empty and unfinished.
Here’s a useful rule: if the basket is small, let the filler sit just below the rim. If the basket is larger, allow it to rise 1 to 2 inches above the edge. That difference keeps the proportions balanced.
For a basket that needs to feel more handmade, combine one natural filler, like raffia, with one soft detail, like felt flowers. That pairing keeps the look from going too shiny or too formal.
Name tags and personalization that do not look pasted on
A name tag makes the basket feel like it belongs to one person, and that is usually the detail people notice first. The strongest tags are legible at arm’s length and sized to the basket, not the Easter table.
Cardstock gift tags are the easiest option. Cut them in a simple oval, rectangle, or egg shape, then write the name in a bold pen or print it in a clean font. Want a softer look? Use kraft paper with white ink or a stamped name. Wooden tags and acrylic tags work too, but they push the basket toward a more polished style.
Placement matters. Hang the tag from the handle with twine if you want it to sway slightly. Tie it low on the front ribbon if you want it to stay visible. Avoid tucking it behind flowers or under a large bow, where it disappears.
A few personalization details work better than one crowded monogram. Try the child’s name, a short greeting like “Happy Easter,” or a first initial paired with a small shape. A tag that measures roughly 2 to 3 inches wide is easy to read without taking over the basket.
One practical point: if the basket will be used by a younger child, keep the tag edges rounded and the attachment short. A dangling tag can snag on clothing or brush against the ground when the basket is carried.
Personalization is also where restraint helps. A name in one place and a small flower or bow in another usually feels more finished than a tag, sticker, charm, and banner all at once.
Paint and spring color palettes that actually work on woven baskets
Paint works best when it changes only part of the basket, not every square inch. A full painted basket can look stiff if the weave disappears, so partial color is usually the smarter choice.
Try one of these approaches:
- Painted rim: Brush color onto the top 1 to 2 inches of the basket for a dipped look.
- Handle accent: Paint the handle only, then tie ribbon over part of it.
- Soft wash: Use a light coat of white or pastel paint so the weave still shows through.
Acrylic craft paint is the simplest choice for most DIY decorating because it dries quickly and comes in spring shades that match ribbon and paper filler. Keep the coat thin so it does not clog the weave. If the basket is very rough, a second thin coat is better than one heavy coat.
Spring palettes are easiest when they stay close to nature. Sage and cream feel calm. Lavender, blush, and ivory feel soft. Butter yellow and white feel bright without getting loud. Want a fresher look? Add one darker anchor color, such as navy or forest green, in a tiny amount through the tag or ribbon.
The trade-off with paint is permanence. Painted baskets are less flexible if you want to reuse them for another holiday. They also take more drying time than ribbon or paper details, so this is not the fastest option if you need several baskets done in one evening.
Paint is worth it when the basket itself is plain or mismatched. It is not the strongest choice for a natural wicker basket that already has enough texture on its own.
Which DIY Easter basket style should you choose?
The right style depends on how the basket will be used, because a display basket and a carry basket need different finishes. A basket for a tabletop can handle more trim, while a basket for a child should stay light and easy to hold.
For a classic family basket, use woven baskets, a pastel ribbon wrap, and a simple name tag. This is the safest choice if you want something traditional and easy to repeat for more than one person.
For a soft spring basket, use ivory or cream ribbon, felt flowers, and pale paper filler. This style feels gentle and polished, and it suits baskets that will sit in photos or on a mantel.
For a playful basket, mix gingham ribbon, bright paper shred, and a bold tag. This is the most cheerful option, but it can look busy if you use more than two patterns.
For a minimal basket, keep the weave visible, add one narrow ribbon, and use a small handwritten tag. This is the best choice for anyone who dislikes clutter or wants the basket to feel grown-up.
For a heirloom-style basket, stick to natural fiber, a muted palette, and one handmade detail like a stitched felt flower. This look takes longer, but it ages well because it does not depend on trendy colors.
The wrong move is trying to combine all five styles at once. A basket with ribbon, paint, flowers, tags, pom-poms, and three colors usually loses its shape. Pick one main idea and let the basket do the rest.
Need more seasonal craft ideas with the same handmade feel? The Christmas ornament craft ideas for adults hub is a useful next stop for technique, color, and finishing inspiration.
What usually goes wrong when decorating an Easter basket
Overdecorating is the most common problem, and the cost is a basket that looks crowded instead of festive. Too many bows, tags, and flowers make the handle hard to use and hide the woven surface that gives the basket character. The fix is to remove one layer and keep only the strongest detail.
Another mistake is choosing materials that fight each other. Shiny ribbon, rough raffia, bright plastic trim, and stiff paper all together can look chaotic. One smooth material plus one textured material works better, such as satin ribbon and woven basket, or kraft tag and felt flower.
Sizing errors matter too. A tiny tag on a large basket disappears. A giant bow on a small basket swallows the handle. A good rule is to scale the accent to the basket’s width, not your craft stash.
Poor attachment is a quieter problem, but it shows up fast. If the ribbon slips, the tag twists, or the flowers droop, the basket looks unfinished. Secure lightweight items with glue dots or tape, and use knots or hot glue for anything that must stay in place.
One last issue: forgetting how the basket will be carried. Pretty decoration on the handle can become annoying if it rubs the hand. Keep the grip area mostly clear, especially for baskets meant for children or frequent use.
FAQ
How can I decorate an Easter basket cheaply?
Use what the basket already gives you and add only one or two accents. A spool of 1/2-inch ribbon, a few strips of tissue paper, and a handwritten gift tag can change the whole look without much material. Gingham ribbon, scrap cardstock, and leftover felt pieces are the most useful low-cost supplies.
What can I use to decorate a basket?
Ribbon, felt flowers, paint, paper fillers, gift tags, twine, and lightweight trim all work well. Start with woven baskets and choose materials that match the basket’s texture. Satin ribbon looks polished, raffia feels natural, and cardstock tags give you a clean place to add a name or short greeting.
How do you personalize an Easter basket?
Add a name tag or monogram in one clear place, usually on the handle or front rim. Keep the lettering large enough to read and pair it with one small accent, such as a felt flower or bow. A simple personalized basket looks better than one covered in repeated names or stickers.
Drafted with AI; not yet reviewed by a person.
Leave a Reply