Last updated: November 05, 2026
Quick Answer: you can make a handmade greeting card with scrap paper in 7 steps: choose an A2 base, select 2 to 4 coordinated scraps, layer them flat, add one sentiment, and finish with one small embellishment. A handmade greeting card made from scrap paper starts with a simple card base, a balanced layout, and a few carefully placed paper layers. To make How to Make Handmade Greeting Cards with Scrap Paper work well, choose one main scrap, one supporting scrap, and one clean focal point, then keep the rest quiet.
Key Takeaways
- Start with a folded cardstock base so the card stays stiff and mail-friendly.
- Pick scraps that share one color family or one repeating shape; random mixes usually look messy.
- Use paper layers to create depth before you reach for stickers, glitter, or anything bulky.
- Leave space for the message first, then build the decoration around it.
- Washi tape, a paper punch, and a thin adhesive can make scraps look deliberate instead of leftover.
- A2 is a common starting size at 4 1/4 x 5 1/2 inches folded.
What you need before you start
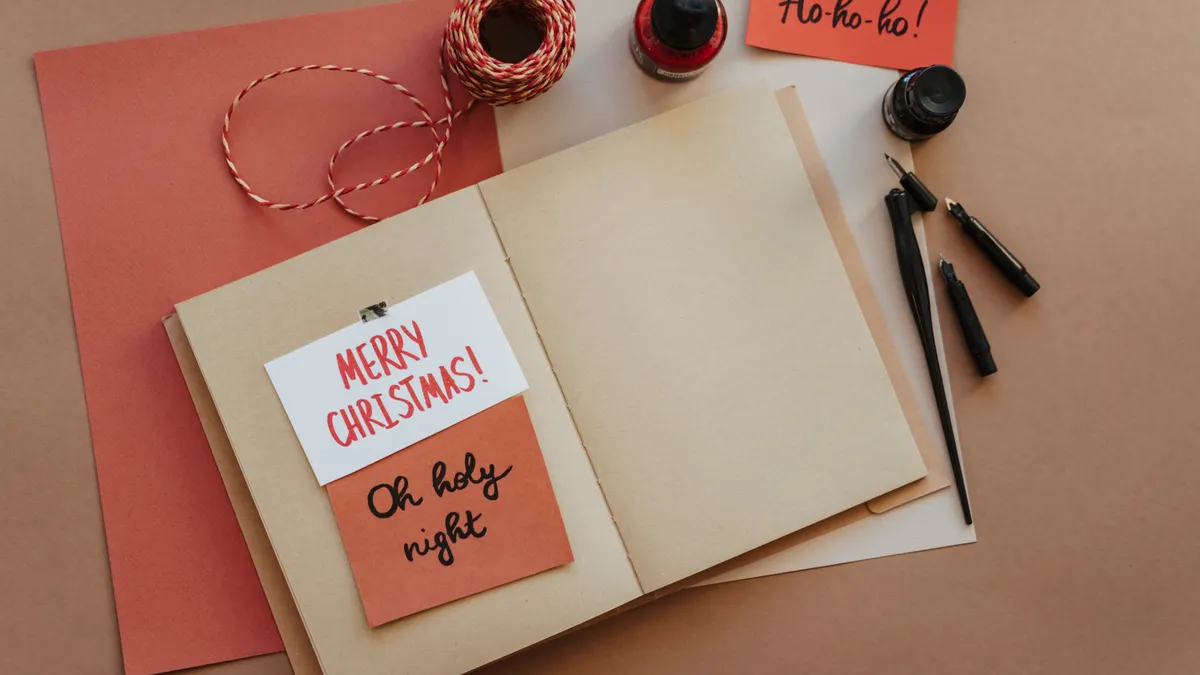
You need cardstock for the base, scrap paper for the design, adhesive, and an envelope that fits the finished size. A standard starting point is an A2 card base, which is 4 1/4 x 5 1/2 inches when folded, because it gives enough room for a focal point without wasting paper. If you prefer a square card, keep the finished size matched to the envelope from the beginning.
A useful scrap kit is smaller than most people expect. Keep 2 to 4 pieces of scrapbook paper in the same palette, a few narrow strips, and one plain neutral sheet such as white, kraft, or cream. A paper punch helps you reuse tiny offcuts that would otherwise be too small for a full panel. Washi tape is useful when you want fast edges, borders, or a visual anchor without adding thickness.
Avoid glossy magazine pages and very thin copy paper for the main layers. They wrinkle easily and can make the card feel flimsy. Thin decorative paper can still work as a strip, a punched shape, or an accent panel if it sits on top of cardstock.
If you want a broader craft foundation, the guide to Paper Craft Techniques for Beginners is the right place to go next. For tools and surface choices, see card making supplies and how to cut paper cleanly.
How do you make greeting cards from scrap paper?
You make greeting cards from scrap paper by choosing a card size, trimming scraps into simple shapes, layering them with adhesive, and finishing with a short message. The process works best when every piece has a job: background, accent, or sentiment. If a scrap does not improve the layout, leave it out.
- Fold a cardstock sheet into a base. Cut cardstock to your chosen size, then fold it cleanly with a bone folder or the edge of a ruler. A solid fold should lie flat and open without cracking at the spine.
- Pick one main scrap and one supporting scrap. A larger print can carry the design while a smaller solid or pattern adds contrast. The card works when the two pieces look related, not competing.
- Trim the main layer with a 1/8-inch border in mind. Leave a visible frame of the base around any central panel. The card looks more finished when edges are even and the base still shows.
- Place the message area before decorating. Mark where the sentiment will sit, usually in the top third or lower third, so your embellishments do not crowd it. When this works, the card reads clearly from a short distance.
- Glue the largest pieces first. Use thin adhesive on flat layers and press for a few seconds. A smooth panel with no ripples tells you the glue choice is right.
- Add small scraps as accents. Use strips, circles, banners, or punched shapes to repeat the main color. The card starts to feel intentional when the accents echo the larger shapes.
- Finish with one restrained embellishment. A single button, twine bow, sticker, or paper punch shape is usually enough. If the card starts to bulge, it is already too much.
The biggest advantage of this method is control. Scrap paper can look curated when the layout is simple. The biggest drawback is that busy prints can overwhelm a small card if you keep adding more layers. For more on layout balance, see paper layout basics and how to use washi tape in crafts.
How to choose scrap paper patterns that work together
The easiest way to choose scrap paper patterns is to combine one bold print, one medium-scale pattern, and one solid or near-solid background. That ratio keeps the card readable. If every paper is loud, the eye has nowhere to rest, and the finished piece feels cramped.
A safe combination is stripes, dots, and a plain sheet in the same color family. Florals, geometrics, and text prints can also work together if one of them stays small. For example, a 2-inch floral square, a 1/2-inch striped strip, and a cream sentiment panel make a strong trio because each piece plays a different role. If the prints clash, they usually clash because they compete at the same scale.
Color does most of the work here. A mix of blue scraps, or warm neutrals, or soft pastels will usually hold together even when the patterns differ. Hard contrast can still work, but it needs discipline. Black-and-white scraps can look sharp with one color accent, while bright multicolor scraps usually need more white space than you think.
Do not force every scrap into the card just because it is available. A card made from six different leftovers often looks less polished than one built from two or three well-chosen pieces. If the scrap box is chaotic, sort first by color, then by scale, then by finish. That 5-minute sorting pass saves more time than trying to fix a crowded layout later.
A useful rule is this: one scrap should lead, one should support, and the rest should stay quiet. That rule is what keeps a handmade greeting card from turning into a collage dump. For pattern pairing ideas, try scrapbook paper pairs or color theory for crafters.
How to layer paper without making the card bulky
You layer paper without making the card bulky by keeping most pieces flat and using thickness only where it improves the design. A card that goes through the mail or sits in an envelope should still close easily, so each extra layer has to earn its place.
Start with the largest background panel and build inward. A base panel can be full-size or slightly smaller, with the next layer reduced by 1/8 to 1/4 inch on each side. That small edge difference is enough to show separation without creating a thick stack. If you want a raised effect, use one foam dot or a narrow strip of folded scrap behind a single focal piece, not under every layer.
Adhesive matters here. A glue stick or thin double-sided tape keeps flat paper from puckering. Liquid glue can work, but use it sparingly and press the piece under a clean sheet of paper for a minute or two if it starts to curl. For punched shapes, a tiny dab in the center often holds better than coating the whole back.
If the card will be mailed, keep the total thickness modest and avoid large beads, heavy chipboard, or multiple foam layers. The goal is a card that feels handmade when held, not one that fights the envelope. A slim card can still look rich if the edges are crisp and the paper contrast is strong.
The trade-off is simple: more height creates more drama, but also more bulk. For most scrap-paper cards, flat layers plus one raised focal point is the sweet spot. For envelope-friendly options, see mail-friendly card making and adhesives for paper crafts.
Where should the sentiment go on a handmade greeting card?
The sentiment should go where the eye lands first or where the design leaves the cleanest open space. In most cards, that means the top third, lower third, or centered over a quiet panel. The text should look like part of the layout, not like it was squeezed in at the end.
A centered message works well when the card has a clear frame or a simple focal point. A lower-third sentiment can feel more modern and leaves room for a decorative top edge. A top-third sentiment is useful when the lower half carries the main paper design. If the card has a busy print, place the text on a plain strip, banner, or label so it stays readable.
Keep the message short. A handmade card usually looks better with one phrase than with a long block of writing. If you are stamping a sentiment, leave enough margin around it so the letters are not crowded by flowers, punches, or tape. If you are handwriting, test the spacing on scrap first so the line does not drift uphill or run into the edge.
One common mistake is adding the sentiment after everything else without planning for it. That can force the message into a corner or onto a busy pattern where it disappears. Another mistake is making the sentiment the same visual weight as every decoration. The text should be a focal point, but it should not be the only thing the card has to say.
A good test is simple: close one eye and glance at the card for 2 seconds. If you can find the message right away, the placement works. For font and stamp placement, see card sentiment placement and hand lettering for beginners.
Simple embellishments that improve the card fast
Simple embellishments improve the card fast when they reinforce the layout instead of competing with it. Washi tape, punched shapes, thin twine, and small paper banners all add interest without making the card heavy.
Washi tape is the quickest fix for a plain edge. A 2-inch strip at the bottom, a diagonal corner accent, or a narrow frame around a sentiment panel can make scraps look deliberate. Paper punches are useful for circles, hearts, stars, scalloped edges, and tags; they turn tiny leftovers into repeatable shapes. If you have a 1-inch circle punch or similar tool, it can rescue scraps that would otherwise be unusable.
Use embellishments to repeat the structure already on the card. A strip of tape can echo a striped scrap. A punched circle can echo a round pattern in the background. A twine bow can soften a geometric layout. That repetition is what makes the design feel resolved.
Do not add everything at once. Two or three embellishment types are usually enough for a single card. If you add a stamped sentiment, a paper banner, twine, and a sticker cluster, the card can lose its focus. The more patterns you use, the more restrained the extras need to be.
Keep storage in mind too. Scrap-paper cardmaking gets easier when you save offcuts in 1-inch, 2-inch, and strip-sized pieces instead of throwing them into one box. Precut scraps speed up the next card and make the design process less random. For storage ideas, see craft room organization and paper punch projects.
Common mistakes that make scrap-paper cards look unfinished
The most common mistakes are overcrowding, mismatched scale, and using too many unrelated scraps. Each one makes the card look accidental instead of designed. The fix is usually subtraction, not more decoration.
Crowding is the fastest way to flatten the design. When the entire card surface is covered, the eye cannot separate the layers. Leave at least some visible base card around the main composition. A visible border gives the whole piece breathing room and makes the paper colors look sharper.
Mismatched scale is the other trap. A tiny polka dot next to a huge floral print can work, but only if one is clearly dominant. If both are competing at the same size, the card feels noisy. Choose one hero pattern and let the other pieces stay quiet.
A third mistake is forgetting the envelope. A card that is too thick, too wide, or too decorated may not fit neatly. A standard envelope size helps, but the card still needs to close flat. Before you call the card finished, fold it shut and check that nothing sticks out beyond the edge.
The best scrap-paper cards are usually simple, not packed. A clean card base, 2 or 3 coordinated papers, one clear sentiment, and one small embellishment are enough. That restraint is what makes the card look handmade in a good way, not improvised in a rushed one.
How do you make greeting cards from scrap paper?
You make greeting cards from scrap paper by starting with cardstock, choosing a few coordinated scraps, and building the design in layers with adhesive. The card looks finished when the largest shapes go down first, the sentiment has clear space, and the decorations support one focal point instead of competing with it.
What size is a handmade card?
A common handmade card size is A2, which folds to 4 1/4 x 5 1/2 inches. That size fits a lot of designs without feeling oversized, and it works well for scrap-paper layouts because there is enough space for layers, a message, and a clean border.
How do you layer paper on a card?
You layer paper on a card by placing the biggest piece first, then adding smaller pieces with slightly reduced borders, usually 1/8 to 1/4 inch smaller on each side. Flat adhesive keeps the layers neat, and one raised accent is usually enough if you want depth without too much bulk.
Drafted with AI; not yet reviewed by a person.
Leave a Reply