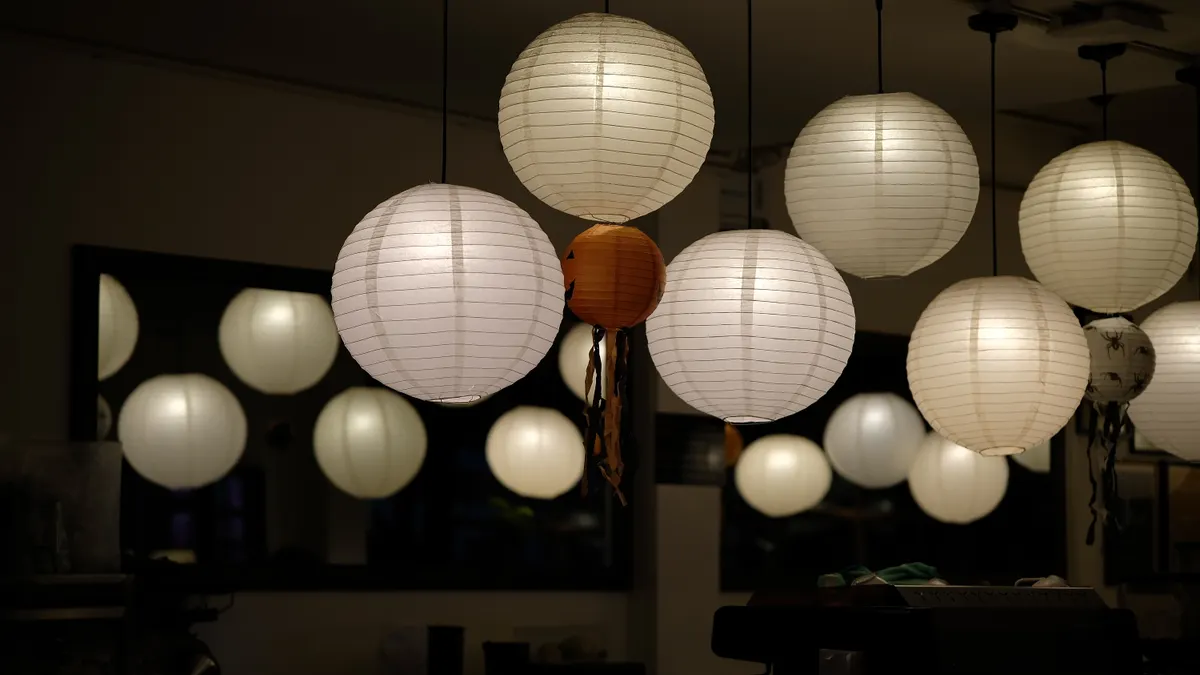
Last updated: November 05, 2026
Quick answer: you can make a simple paper lantern for parties in about 15 to 20 minutes using one sheet of paper, scissors, glue, string, and an LED tea light. How to Make Paper Lanterns for Parties is a practical beginner project when you want a lightweight decoration that hangs cleanly over a table, on a porch, or along a wall, and this guide shows how to make a paper lantern that looks tidy and stays simple.
Key takeaways
- The cleanest party lantern uses light paper, a ruler, scissors, glue, string, and an LED tea light.
- A cylinder lantern is the easiest shape to start with because the seam and handle are simple.
- Cut evenly spaced slits or windows so the lantern opens without collapsing.
- Use battery lights, not candles, if the lantern is made from paper.
- Hang lanterns from a ceiling hook, curtain rod, or strong tape point, and keep them away from heat.
What you need before you start
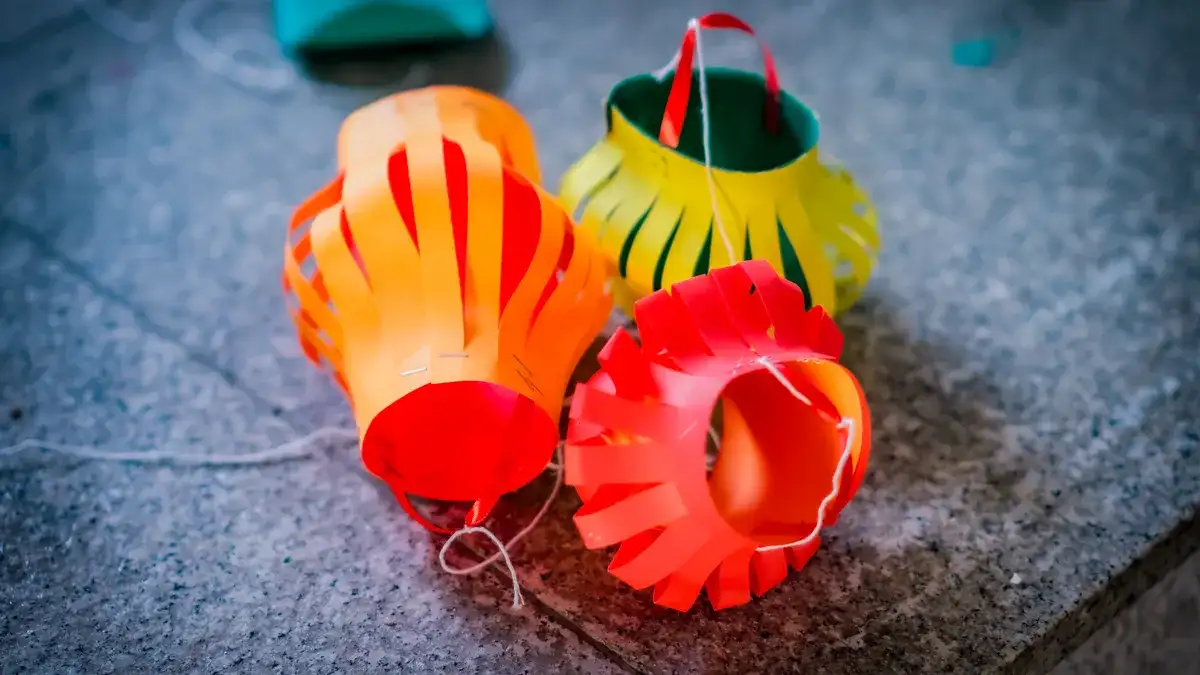
Start with one sheet of paper, a ruler, scissors, glue, string, and an LED tea light. That is enough for a basic lantern about 6 to 8 inches tall, which is a practical size for most party spaces. A heavier paper such as cardstock holds shape better than thin copy paper, but very stiff paper is harder to curl into a cylinder.
Choose your paper first, because it determines the whole build. Smooth cardstock makes a neater party lantern, while patterned paper does most of the decorating work for you. If you want several lanterns on one string, pick the same paper weight for all of them so they hang at the same height and do not twist unevenly.
You also need a flat work surface and a pencil for marking cuts. If you want the lantern to glow through the paper, plan on using an LED tea light rather than a candle. The right light keeps the paper cool and removes the open-flame problem entirely. For a party display, that trade-off is worth it.
If you are building this as part of a larger set of beginner projects, the hub on Paper Craft Techniques for Beginners is the right place to start for basic folding, cutting, and adhesive habits.
How do you make a paper lantern?
You make a paper lantern by cutting, shaping, gluing, and hanging a paper cylinder with an opening for light. The simplest version takes about 15 to 20 minutes once your paper is cut.
-
Cut your main sheet to size.
Trim the paper to a rectangle, such as 8 by 12 inches, for a small party lantern. A ruler gives you straight edges, and straight edges make the seam easier to close. When this step works, you have a clean rectangle with no ragged sides. -
Mark a border for the top and bottom.
Draw a 1-inch strip across the top and another 1-inch strip across the bottom. Leave these bands uncut so the lantern keeps its shape. You should see two solid borders and one long central panel. -
Cut vertical slits through the center panel.
Slice evenly spaced lines from the bottom border up toward the top border, stopping about 1 inch short of the top. Keep each slit about 1/2 inch to 3/4 inch apart. When done correctly, the paper looks like a fringe or comb with a solid band at both ends. -
Curl the paper into a tube.
Bring the short edges together and overlap them by about 1/2 inch. The cut strips should bow outward slightly as the paper curves. If the tube holds its round shape without flattening, the lantern body is ready. -
Glue the seam.
Apply glue along the overlap and press the edges together for a few seconds. A small clip can help while the glue sets. The seam should lie flat, not spring open. -
Shape the lantern into a cylinder.
Gently press the top and bottom borders outward so the cut strips flare. The lantern should now look open in the middle and rounded at both ends. That shape creates the classic paper lantern look. -
Add a string hanger.
Punch or poke two small holes near the top border on opposite sides, then tie string through them. A single loop is enough for most hanging points. Hold the string and the lantern should stay level instead of tilting. -
Place the LED tea light inside.
Set the light in the center on a small paper disk or a folded tab if needed. The lantern should glow through the slits without sagging. If the light makes the paper warm, stop and switch to a cooler LED model.
Cutting patterns that make the lantern look finished

A good cutting pattern is what separates a party lantern from a plain paper tube. The most useful pattern is a regular slit layout, but window shapes and edge trims can change the style fast.
For the standard fringe lantern, keep the slits evenly spaced across the middle panel. Uniform spacing matters more than the exact measurement. A 1/2-inch gap gives a denser look, while a 3/4-inch gap gives more open space and more light spill. Smaller gaps make the lantern feel fuller, but they also hide the glow from the LED tea light. Wider gaps show more light but can make the lantern look sparse.
You can also cut small shapes into the center panel before you roll it up. Stars, circles, and diamonds work best because they are simple and do not weaken the paper as much as long, thin cutouts. Keep decorative openings at least 1 inch away from the top and bottom borders so the lantern does not tear at the seam. If the paper is thin, use a second layer behind the cutouts for contrast.
A scalloped edge on the top or bottom border can soften the look, but it is not necessary for a clean party result. Straight borders are easier to hang and easier to repeat if you are making six or more lanterns. For a mixed display, keep one lantern plain and vary only one detail, such as the slit width or the cutout shape. Too many pattern changes at once can make the set look accidental instead of planned.
Safe materials and lighting choices for paper lanterns
Paper lanterns for parties should be lit with an LED tea light, not a candle. Paper burns easily, and a flame inside a paper lantern creates a real fire risk. If the lantern is hanging near fabric, balloons, streamers, or dry decor, the risk climbs again.
Use paper, glue, string, and battery lights that stay cool to the touch. A small LED tea light is the simplest option because it fits inside the lantern body and does not need wiring. If the lantern will hang outdoors under cover, battery lights still make sense because wind will not blow them out the way it would a flame.
The safest string is thin cotton cord, twine, or lightweight ribbon if it is kept far from the light source. Keep the hanger point high enough that the lantern does not rest against a wall or curtain. If you plan to cluster several lanterns together, leave at least a few inches of space between them so the paper edges do not crush each other.
Do not use glossy wrapping paper that is too stiff to fold or too slick for glue. It can split at the seams or peel apart under its own weight. Thin decorative paper works, but if it feels fragile, back it with cardstock rings at the top and bottom. That extra support usually solves the drooping problem without changing the look much.
For more background on paper-craft construction and material behavior, the craft standards and safety notes from the Paper and Packaging Board and similar paper-industry resources are useful reference points, even though the exact lantern design is simple. For fire safety, the U.S. Consumer Product Safety Commission advises keeping candles and other open flames away from combustible materials, and the U.S. Fire Administration also recommends extra caution with decorative items that can ignite.
How to hang paper lanterns without making a mess
Hang paper lanterns from a fixed point that can support the light weight of the paper and string. A ceiling hook, a tension rod, a curtain track, or a strong adhesive hook on a clean wall usually works better than tape alone.
Start by deciding the lantern height before you tie the final knot. For a party room, a cluster often looks best when the lowest lantern hangs roughly at eye level or a little above, with higher lanterns staggered above it. That spacing creates depth without blocking conversation or table space. If the lanterns are over a dining table, keep them high enough that guests can see across the table without ducking.
A single lantern can hang from one loop, but a group looks steadier when each lantern has its own tie point. If the room has a beam or rod, tie string around the support and adjust the knot before adding the lantern. This is easier than trying to hang and adjust at the same time.
For a wall display, use removable hooks or clips rated for light decor, then hang the lanterns in a line or soft arc. Paper lanterns look best when they are not packed tightly together. Leave a few inches between them so the round shape reads clearly from across the room.
If a lantern tilts, the hanger point is uneven or the seam is twisted. Recenter the string before you decorate further. A crooked lantern is a small problem on the floor and a big one once it is already hung over guests.
Common mistakes that ruin the look
The biggest mistake is cutting the slits too far into the border. That weakens the top and bottom bands, and the lantern sags instead of opening into a cylinder. Leave about 1 inch of solid paper at both ends, even if the lantern is small.
Another common error is making the slits uneven. If some are wide and some are narrow, the lantern can twist or pinch on one side. A ruler saves time here. Mark the cuts before you start slicing, especially if you are making more than one lantern for the same party setup.
Using too much glue also causes trouble. Thick glue beads can wrinkle the seam and leave bumps that show from the outside. A thin line is enough for a paper seam. Press the overlap for a few seconds, then let it set before hanging.
A final mistake is choosing a candle because it feels more decorative than an LED tea light. That choice costs you safety and usually ruins the shape too, because paper lanterns are meant for cool, low-wattage light sources. If you want the glow of a real flame, this is the wrong project. Use a candle holder made for a table instead; a paper lantern is not that object.
Ways to style the lanterns for a party room
Paper lanterns work best as grouped decor, not isolated objects. Three lanterns in different sizes often look more deliberate than one large lantern on its own. If you only have one paper size, vary the height instead. A high-low line gives the same effect without extra materials.
Color matters as much as shape. White paper gives the cleanest glow, while pale colors soften the light without hiding it. Dark paper looks striking in daylight but can swallow the LED glow at night. If you want the lanterns to read from a distance, lighter colors are usually better.
Place lanterns where they frame the party instead of blocking it. Good spots include the entryway, the corner above a gift table, or the open space above a snack station. For a photo backdrop, group several lanterns at different heights rather than lining them up in a straight row. A staggered group feels fuller and less rigid.
If you are making a batch, build one test lantern first. That single sample tells you whether the slit spacing, paper weight, and string length work together. Then repeat the same measurements for the rest. A repeating pattern looks intentional, which is what most party decor needs more than novelty.
How do you make a paper lantern?
You make a paper lantern by cutting a paper sheet into a bordered panel, slicing the center into even strips, rolling it into a cylinder, and gluing the seam. A basic version also needs string for hanging and an LED tea light for safe lighting. The finished lantern should open into a rounded shape and glow without heating up.
Can you put a candle in a paper lantern?
No, a candle should not go inside a paper lantern. Paper can catch fire, and the enclosed shape puts heat close to the material. Use an LED tea light or another battery-powered light instead. If you want a candle on a table, use a proper candle holder designed for heat and flame.
How do you hang paper lanterns?
You hang paper lanterns by tying string through the top edge and suspending the loop from a hook, rod, or other fixed point. The hanger should keep the lantern level and away from curtains, balloons, or other flammable decor. If you are hanging several lanterns, stagger their heights so the display looks balanced rather than crowded.
Drafted with AI; not yet reviewed by a person.
Leave a Reply