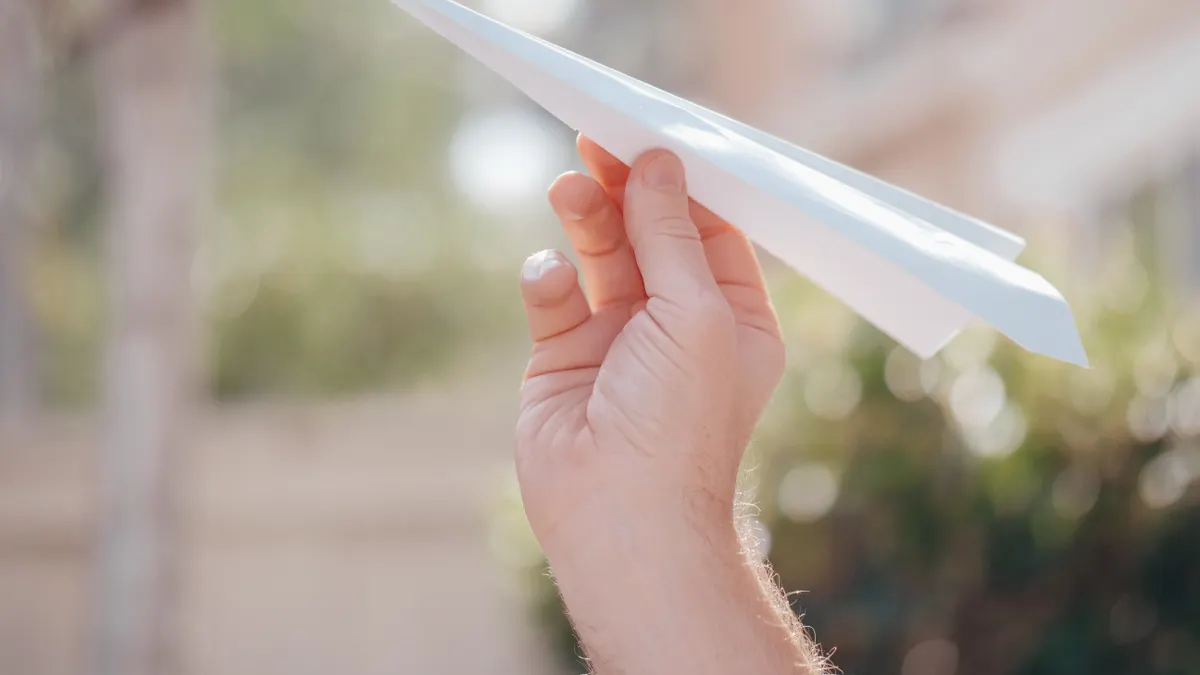
Last updated: November 05, 2026
Quick Answer: You can usually build a straight-flying paper airplane from one sheet of 8.5 x 11-inch printer paper in about 2 minutes. A straight-flying paper airplane starts with a clean fold sequence, a balanced nose, and two wings that match. If the plane veers, spins, or dives, the fix is usually in the first few creases, not in a dramatic redesign.
Key Takeaways
- Standard letter paper is a reliable starting point because it folds cleanly and stays stiff enough for stable flight.
- Fold the body first, keep both sides identical, and finish by setting the wings level with a slight upward angle.
- Matching wings matter because straight flight depends on both sides making the same lift.
- Keep the nose compact, centered, and slightly weighted so the airplane points forward instead of wobbling.
Start with the right paper and the right shape
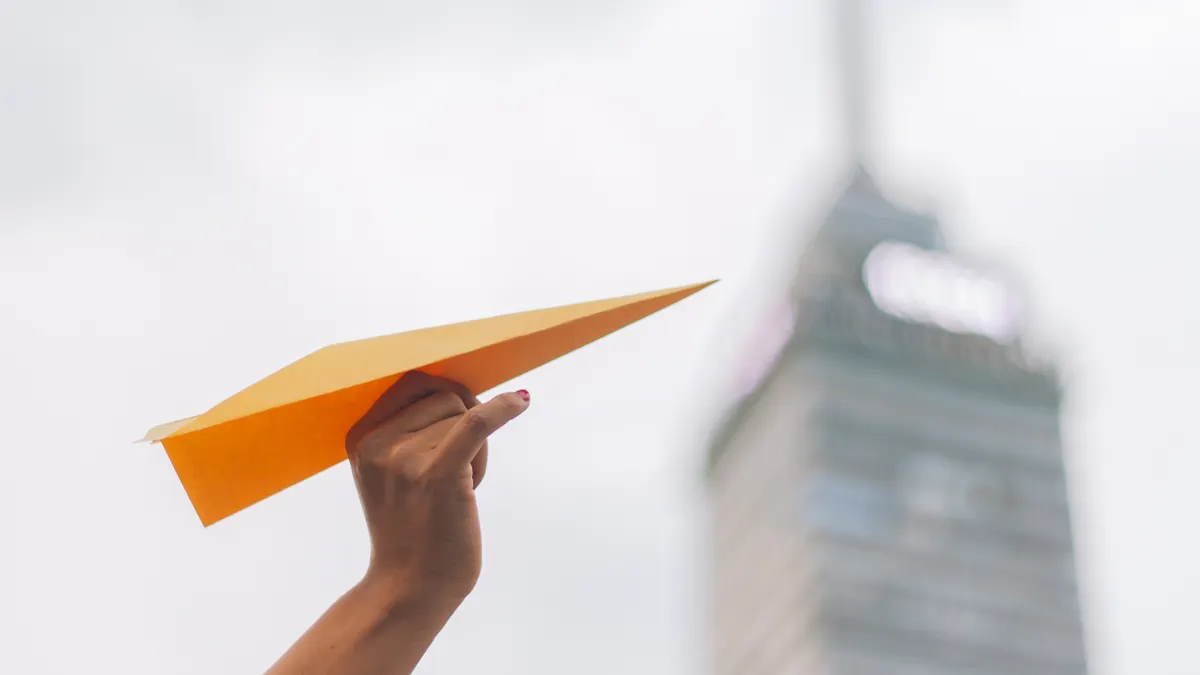
A single sheet of standard letter paper is a practical place to start because it folds cleanly and gives enough stiffness for stable flight. Printer paper in the common letter size, 8.5 x 11 inches, is a common default for beginners; if the sheet is much thinner, the nose wrinkles too easily, and if it is much heavier, the folds become bulky and the plane can stall. Paper weight matters because the airplane needs enough stiffness to hold a crease but not so much thickness that every fold fights back.
Use a flat table and a hard edge, such as a ruler or the side of a notebook, to sharpen each crease. A dull crease can still ruin flight: the wing loses symmetry, the nose points off-center, and the plane starts to drift. Keep the sheet oriented vertically before you begin so the long edge becomes the airplane’s length. That gives you a longer fuselage and a more forgiving wingspan.
This guide is for a simple straight-flying paper airplane, not an aerobatic stunt model. If the goal is loops, flips, or sharp turns, this is the wrong design. Straight flight rewards symmetry and small corrections, not flashy folds.
How do you fold paper airplanes that fly straight?
You fold the body first, keep both sides identical, and finish by setting the wings level with a slight upward angle. The whole job is about removing imbalance one fold at a time.
- Fold the paper in half lengthwise and open it back up. The center crease should run straight down the middle like a spine, with both long edges matching exactly.
- Fold the top two corners into the center line so their edges meet cleanly. When this works, the top of the page becomes a pointed triangle and the nose looks even from left to right.
- Fold the new slanted edges into the center line again. This narrows the nose, adds stiffness, and gives the airplane a more stable front section.
- Fold the tip down about 1 to 1.5 inches so the pointed nose locks the previous folds in place. A folded nose should feel thicker and less likely to pop open.
- Fold the plane in half along the original center crease, with the nose on the outside. The two sides should meet flush, and the body should look clean rather than twisted.
- Fold one wing down so its top edge runs parallel to the bottom edge of the body. Repeat on the other side, using the first wing as the measurement so both wings have the same width.
- Open the wings until they sit at about a 10 to 15 degree angle from flat. The airplane should rest evenly on both wings without leaning to one side.
- Pinch the nose and the leading edges once more to sharpen the front. When the fold holds, the airplane keeps its shape during a throw instead of collapsing at launch.
The most important check is symmetry. Measure by eye, not with a ruler, but compare every left fold against the right fold before you move on. A paper airplane can be a little rough and still fly well; it cannot be uneven and fly straight for long.
Why wing symmetry matters more than decoration

Wing symmetry matters because the airplane only flies straight when both wings make the same lift. If one wing is wider, steeper, or softer than the other, that side lifts differently and the plane banks or corkscrews.
Look at the wing width first. Both wings should measure the same from the body crease to the outer edge. A difference of even a small fraction of an inch can show up in flight as a slow turn. Then check the wing angle. One wing should not sit flatter while the other stands higher, because the steeper wing produces more drag and often makes the plane yaw.
The paper itself also affects symmetry. Printer paper usually behaves predictably, while glossy or heavily coated paper can slip during folding and make the wings uneven. If one crease springs back more than the other, press it again with a ruler. That extra pressure matters more than making the airplane look neat.
A simple test before flying is to hold the plane by the center body and sight down the nose. The left wing and right wing should line up at the same height. If one tip sits higher, bend that wing slightly until the plane hangs level. This takes less than 30 seconds and can save several bad throws.
Decoration is the wrong priority here. Marker ink, stickers, and tape on the wings add weight in odd places and can pull the airplane off balance. If a plane needs to fly straight, function comes before style.
What should the nose look like for a straighter flight?
The nose should be compact, centered, and slightly weighted so the airplane points forward instead of wobbling. A long, floppy nose usually makes the plane unstable; a very heavy nose can make it dive fast.
For a basic straight flyer, the folded nose should end in a firm triangle or blunt point about 1 to 1.5 inches long after the final fold. That front section gives the plane enough mass to keep its heading without becoming a brick. If the nose is too light, the airplane may stall and float sideways. If it is too dense from repeated folds, the front can pull the plane down too sharply.
If the plane keeps lifting too much and stalling, add a small amount of nose weight by tightening the front fold rather than stuffing in extras. If you do use a tiny piece of tape, keep it centered and very small, because off-center weight creates turn. A paper airplane is not a model aircraft with adjustable ballast; it responds quickly to tiny imbalance.
A useful rule: the nose should feel firmer than the wings but not thicker than the body can support. If the front wrinkles when you pinch it, the crease order was too loose or the folds were not aligned. Reopen it and refold the nose, because a straight plane depends on a straight front edge.
How to throw it so it goes straight
You throw it with a level, smooth release, not with extra force. A paper airplane usually flies straighter from a controlled 45-degree forward motion than from a hard shove.
Hold the airplane under the body, close to the center of gravity, with the nose pointed slightly above level. Use one hand only and keep the wrist relaxed. A throw that is too fast creates wobble, while a throw that is too gentle may drop the plane before it stabilizes. Aim for a motion that feels like a firm, short push rather than a pitcher’s throw.
Start with the plane level to the ground and let it leave your fingers cleanly. If it climbs and then stalls, the nose angle is too high or the front is too light. If it dives immediately, tilt the nose up a little on the next throw or reduce wing angle slightly. If it veers left or right every time, the problem is usually a crooked wing or a twisted rear edge.
Use the same launch point for each test: open indoor space, no fan, no strong draft, and enough room for several throws in a row. A hallway or gym can work better than a cluttered room because airflow stays more consistent. The cleaner the test area, the easier it is to read what the plane is doing.
Fix straight-flight problems with small adjustments
Small bends fix most straight-flight problems, and the safest corrections are at the wings, not the nose. Change one thing at a time so you can see what helped.
If the airplane turns left, bend the rear edge of the left wing up a little or the right wing down a little. That shifts lift and drag just enough to bring the plane back toward center. If the airplane turns right, reverse the correction. Make the bend tiny, then test again. A few millimeters can matter more than a dramatic change.
If the plane dives, raise both wings slightly or give the nose a touch more upward angle at launch. If it stalls and floats, flatten the wings a little or reduce the nose-up throw. If it spins, check whether one wing has a sharper crease or a different angle than the other. Spin usually means the plane is not balanced across the center line.
The most common mistake is overcorrecting. One bent wing can fix a left turn, but an exaggerated bend can create the opposite problem and send the plane back the other way. Another common mistake is changing the nose, the wings, and the launch all at once, which hides the real cause. Adjust one feature, fly again, and only then make the next change.
This is also where paper choice can help or hurt. Thin copier paper lets you make quick adjustments, but it can soften after several throws. Heavier letter paper holds shape better but is less forgiving during fine tuning. Choose based on whether you want easy folding or longer-lasting structure.
For a broader beginner path, this article fits the same paper-craft fundamentals used in the hub on Paper Craft Techniques for Beginners.
What straight-flying paper airplane errors cost you
Uneven folds cost you distance, and a sloppy nose costs you direction. A plane with one wing wider than the other will not just turn once; it will keep hunting in the air, wasting energy on correction instead of gliding forward.
A loose center crease makes the whole plane flex in flight. That flex changes the wing angle midair and can turn a decent design into a wobbling one. A crushed nose can do the same thing by shifting too much weight to the front, which forces the plane to drop before it glides.
Rushed construction also costs you time. If the first version is built with bad symmetry, you end up chasing the problem with launch angle, wing bends, and tape. It is faster to reopen one bad fold than to keep throwing a crooked airplane. That is why a straight-flying model is less about creativity and more about discipline.
This approach is not ideal for tiny scrap paper, poster board, or thick cardstock. Tiny sheets do not give enough wing area for stable glides, and thick board usually makes the plane too heavy for a simple hand throw. For the straight-flight method here, standard printer paper remains the easiest starting point.
What paper is best for paper airplanes?
Standard letter-size printer paper is a strong starting point for most paper airplanes. It folds cleanly, holds creases well, and has a weight that usually balances stiffness with glide. Very thin paper wrinkles easily, while heavy stock can make the plane too stiff and too nose-heavy for smooth straight flight.
How do you make a paper airplane go farther?
You make a paper airplane go farther by reducing drag, keeping the wings even, and launching it smoothly. A slightly nose-heavy plane with clean folds and a moderate wing angle usually glides better than one with loose creases or a hard throw. Straight flight often matters more than extra speed.
Why does my paper airplane spin?
A paper airplane spins because one side is creating more lift or drag than the other. A crooked wing, a twisted rear edge, or an off-center nose can start that rotation. Recheck symmetry, then make a tiny wing adjustment before throwing again.
Drafted with AI; not yet reviewed by a person.
Leave a Reply