Last updated: October 23, 2026
Quick Answer: you can make fabric throw pillow covers without a sewing machine in about 8 simple steps, using a pillow insert, fabric, scissors, and either iron-on hem tape or fabric glue.
Key Takeaways
- Gather the insert, fabric, scissors, and hem tape or glue before you cut.
- Measure first, then add seam allowance and back overlap on every side.
- Envelope backs close flat and skip zippers, buttons, and exposed tape.
- Hem tape gives a sharper edge; glue is easier when you want to avoid heat.
A fabric throw pillow cover without a sewing machine is a fast way to hide a tired insert and update a room without using a machine. The method uses fabric, iron-on hem tape, or fabric glue, plus scissors and a pillow insert that already matches the size you want. For simple home decor updates, it is one of the easiest DIY wall art ideas to coordinate with.
What you need before you cut anything
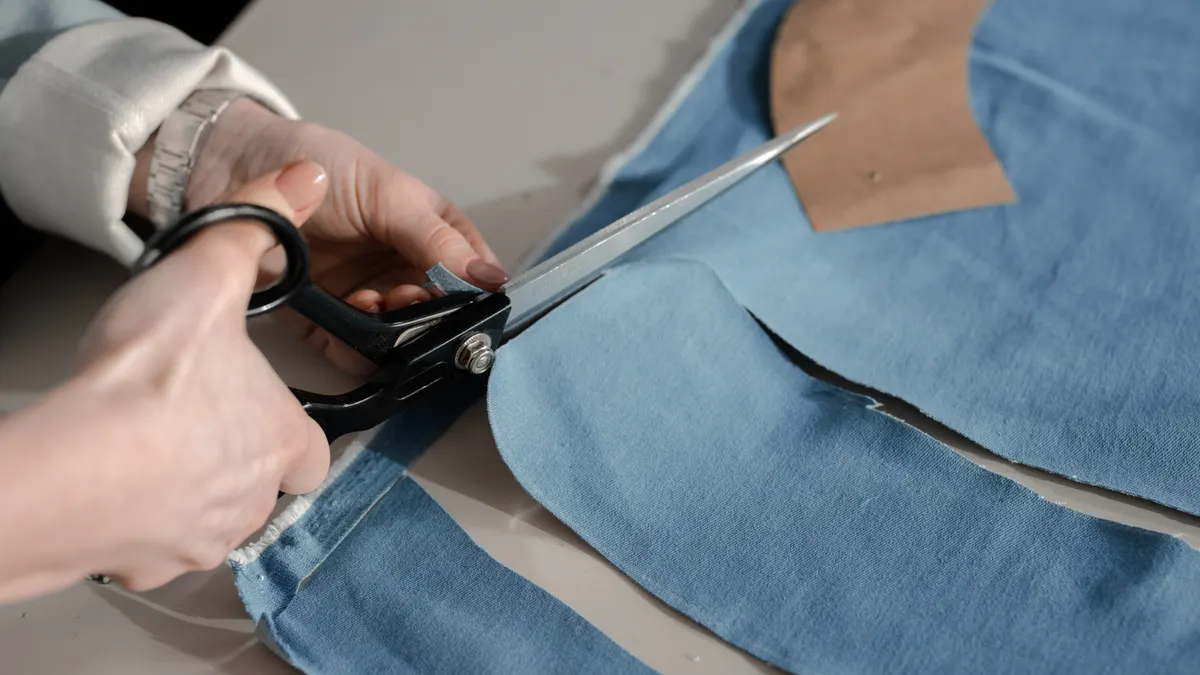
You need a pillow insert, fabric, scissors, and either iron-on hem tape or fabric glue before you start cutting. A ruler or measuring tape helps, and an iron is useful if you choose hem tape. If you want a crisp envelope closure, plan for at least 4 to 6 inches of overlap in the back.
Choose fabric with a little body. Cotton duck, canvas, linen, and medium-weight upholstery-style fabric hold corners well and do not slide around as much as very thin quilting cotton. Very stretchy knit fabric is the wrong choice for this project because it shifts, curls, and can leave the cover looking saggy. If the room gets heavy use, pick a fabric that can handle handling without fraying at every cut edge.
The fabric throw pillow covers without a sewing machine method works best with stable fabric, and that matters even more on a quick refresh. If you are updating a couch, bench, or reading nook, a cover in the right color can change the room without a bigger project. For homeowners comparing textile care, the U.S. Consumer Product Safety Commission has general guidance on fabric-related product safety, and manufacturer directions still matter most for adhesives.
The rest of this guide assumes a standard square throw pillow insert. If your insert is a rectangular lumbar shape, the same method still works, but the measurements change.
How do you measure fabric for a no-sew pillow cover?
Measure the pillow insert first, then add seam allowance and closure overlap to each side. For a square cover, cut one front panel at the insert size plus 1 inch on each side, and cut the back as two overlapping panels that are each the insert size plus 1 inch in height and enough extra length to create a 4 to 6 inch overlap.
Here is the simplest way to size it:
- Lay the pillow insert flat and measure one edge across the face, not around the stuffing.
- Add 1 inch total for hem allowance, so a 18-inch insert becomes a 19-inch cut size for the front panel.
- For the back, cut two pieces with the same height as the front and widths that give you a 4 to 6 inch overlap when they sit on top of each other.
- If the fabric frays easily, add another 1/2 inch to each raw edge so the fold or tape has enough material to grip.
A common mistake is cutting the cover the exact size of the insert. That produces a pillow that is hard to stuff, pulls at the corners, and often leaves the closure gap under tension. A slightly larger cover looks fuller and closes more cleanly.
If the insert is very plush, cut the cover a little smaller than the insert face, usually by about 1/2 inch total, so the corners look more filled out. Do not go smaller than that unless you want a very tight, tailored look.
How to make a fabric throw pillow cover without a sewing machine with an envelope closure
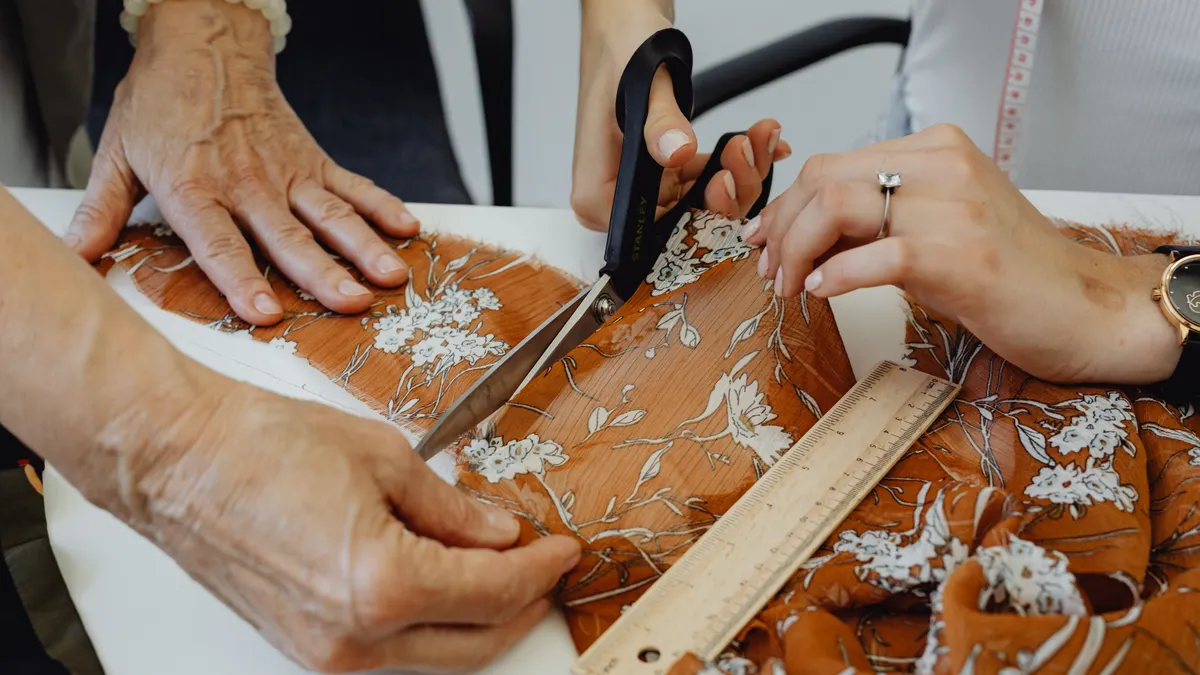
An envelope closure is the easiest no-sew finish because it closes flat and does not need buttons, zippers, or visible tape on the outside. It works best for square throw pillows where the back can overlap by at least 4 inches.
- Cut one front panel and two back panels to size. The front should match the visible face of the pillow insert, plus 1 inch for turning the edge. Each back panel should be the same height as the front panel and wide enough to overlap the other panel by 4 to 6 inches.
- Fold over all four sides of each panel by 1/2 inch, then fold again by another 1/2 inch if the fabric frays. This gives you a cleaner edge and hides the raw cut line.
- Secure the folds with iron-on hem tape or a thin line of fabric glue. If you use hem tape, press with a hot iron for the time listed on the package. If you use glue, hold the fold flat under a book or cutting mat until it sets. If you are unsure about the product or the fabric, consult the package directions or a fabric professional before committing to heat or adhesive.
- Place the two back panels right sides facing up and overlap them in the center. The overlap should look like a pocket, not a gap.
- Lay the front panel right side down on top of the back assembly and line up all edges.
- Bond the three open sides with hem tape or fabric glue, leaving the overlap edge unsealed so the cover can open and close.
- Turn the cover right side out and push out the corners with a blunt tool, such as a pencil eraser or chopstick.
- Slide the pillow insert through the back opening. If the measurements worked, the insert should fill the corners without straining the seams.
The result should be a cover that lies flat at the seams and closes with a hidden overlap in back. If the opening gapes, the back pieces are too short. If the cover feels puckered, the front panel is too small or the fabric has stretched during gluing.
Fabric glue or iron-on hem tape: which closure method works better?
Iron-on hem tape gives a cleaner edge, while fabric glue is easier when you do not want to heat the fabric. Both can make a usable no-sew pillow cover, but they behave differently on the finished piece.
Iron-on hem tape is usually the better choice for cotton, linen, and canvas. It creates a firmer bond and keeps folds flatter, which matters on corners and long straight edges. It also gives a more predictable finish when you are working with a 1/2-inch fold. The trade-off is that you need an iron and enough space to press each edge carefully. Manufacturer instructions from the tape brand are the most reliable source for temperature and press time.
Fabric glue is better when the fabric cannot be pressed well, when you are working on a small table, or when you want to avoid heat. It is more forgiving for beginners, but the bond can feel stiffer or show through thin fabric if you apply too much. A thin line works better than a heavy bead. The directions on the adhesive package, and guidance from the product maker, should come before guesswork.
Do not use a glue that stays wet too long on slippery fabric. That creates smudges, warping, and uneven edges. If you see glue squeezing out from the fold, wipe it immediately before it dries. If you are using hem tape, follow the package temperature and pressing directions instead of guessing. Different products are made for different fabrics, and the bond depends on that.
For a pillow that will be handled a lot, hem tape usually holds a neater shape. For a fast decorative cover that may be changed often, fabric glue is often enough.
How do you cut and finish the fabric without frayed edges?
Cut the fabric square, keep the grain straight, and finish the edges before you join the panels. That order keeps the pillow from twisting and makes the closure line easier to align.
Start by laying the fabric on a flat surface and using a ruler or measuring tape to mark the cut line. A long straightedge helps with 18-inch, 20-inch, or larger pillow sizes because even a slight angle becomes obvious once the cover is stuffed. After cutting, check that opposite sides match within about 1/8 inch. If one side is longer, trim it now.
For fray-prone fabric, fold and press 1/2 inch twice before bonding. If you only fold once, raw threads can slip out over time, especially on linen or loosely woven cotton. If the fabric is thick and does not want a double fold, a single 1/2-inch fold plus hem tape is usually enough.
A clean corner is one of the easiest details to get wrong. When you fold the edge, stop the fold cleanly at the corner instead of bunching extra fabric into a lump. If the corner looks bulky before it is closed, it will look worse after the insert goes in. Trim away a tiny triangle from the corner only if needed, and keep the cut inside the fold line so you do not weaken the edge.
One useful standard: keep all visible seam allowances consistent at 1/2 inch. That makes the cover easier to square up and reduces lopsided edges.
Common mistakes that make a no-sew pillow cover look sloppy
The biggest mistakes are cutting too small, using the wrong fabric, and sealing the closure before checking the overlap. Each one costs you a cleaner finish, and in some cases it means remaking the whole cover.
A cover cut too small will fight the insert. The corners pull, the overlap opens, and the pillow looks tight in the wrong way. The fix is to add more width before you bond anything. If you already assembled it, there is usually no elegant rescue other than opening the seams and recutting.
Thin, slippery fabric often looks nice on the bolt and disappointing on the pillow. It slides while you are closing it and wrinkles around the insert. If that is the fabric you have, cut it with extra care and use a stronger adhesive like iron-on hem tape rather than relying on a weak glue line.
Another mistake is making the envelope overlap too short. If the back panels overlap by only 1 or 2 inches, the insert can peek through as soon as the pillow shifts. Give yourself 4 inches at minimum, and 6 inches if the pillow is full or the fabric is slick.
Do not flood the edge with glue. Heavy glue adds ridges, stains thin fabric, and can make the pillow feel stiff. A narrow, even line is enough for most covers. If you need a stronger hold, press the fold again after the first bond sets rather than piling on more adhesive.
When a no-sew pillow cover is the right choice
A no-sew pillow cover is the right choice when you want a fast update, a removable seasonal cover, or a beginner project that uses basic tools instead of a machine. It is especially useful when you want to refresh living rooms, guest rooms, or rented spaces with a small decor change.
It is not the right choice if you want a washable cover that will be laundered constantly, if the pillow will get rough use, or if you need precise upholstery-grade construction. The bond from fabric glue or iron-on hem tape is practical, but it is not the same as stitched seams. For heavy-duty use, a sewn cover is the better route.
This method also works best on standard throw pillows, not thick floor cushions or structural pieces. Those need different construction and more durable joining methods. If you are trying to cover an oddly shaped insert, the envelope closure can still help, but the fit will take more trial and error.
For general craft guidance on adhesives and fabric handling, the manufacturer directions on the hem tape or glue package matter more than guesswork. The material label is the standard to follow.
Can you make pillow covers without sewing?
Yes, you can make pillow covers without sewing by using fabric glue or iron-on hem tape to bond the edges and create an envelope-style back. The key is to measure the pillow insert first, then cut enough overlap so the back stays closed when the pillow is stuffed. A square 18-inch or 20-inch insert is the easiest place to start.
The finished cover will look best on medium-weight fabric with a straight weave. Thin knit fabric, very loose linen, and slippery satin are harder to keep flat. If you want the least frustrating first project, choose cotton duck, canvas, or another stable fabric and keep the design simple.
What fabric is easiest for pillow covers?
Cotton duck or medium-weight canvas is usually the easiest fabric for pillow covers because it cuts cleanly, folds neatly, and holds shape well. Linen and medium cotton also work if they are not too thin. Very stretchy or silky fabric is harder to align and can shift while you are closing the cover.
A fabric with a firm hand also makes the envelope closure less fussy. It stays where you place it, which matters when the overlap needs to stay even for 4 to 6 inches. If the fabric frays a lot, plan to fold the edges twice or use a stronger bond.
How do you close a no-sew pillow cover?
An envelope closure is the simplest way to close a no-sew pillow cover. You make two back panels that overlap in the center by at least 4 inches, then bond the outer edges so the insert slides in through the overlap. The opening stays hidden, and the cover can be removed later without cutting anything apart.
If you want a firmer closure, iron-on hem tape usually holds the overlap flatter than glue alone. If you want a faster project, fabric glue works, but it needs careful application so it does not seep through thin fabric.
Drafted with AI; not yet reviewed by a person.
Leave a Reply